.NET (pronounced "dotnet") is a free and open-source application platform developed by Microsoft for building web, mobile, and desktop applications that can run natively on any operating system.
The latest version is .NET 8.0, which offers a standard set of tools, libraries, and APIs that support modern, secure, scalable, and high-performance software development.
You can build many types of apps using .NET with bit of experience in C# (used as a primary language), such as web, mobile, desktop, microservices, cloud, machine learning, game development, or the Internet of Things.
Today, I'll show you how to install .NET 8.0 on Ubuntu 26.04, which also works for previous versions like Ubuntu 25.04.
Step 1: Update Your System
The first and foremost step is to ensure your package database and installed packages are up-to-date. If they are already updated, you can skip this step.
$ sudo apt update && sudo apt upgrade -y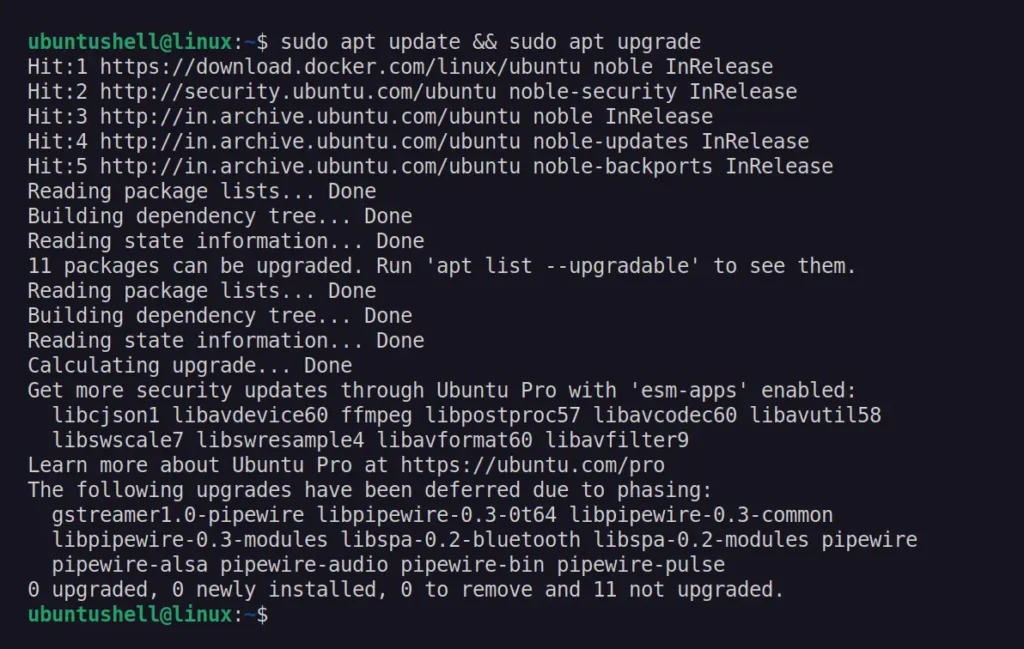
Step 2: Install Required Dependencies
Next, install the additional packages required for .NET installation using this command:
$ sudo apt install -y apt-transport-https ca-certificates gnupg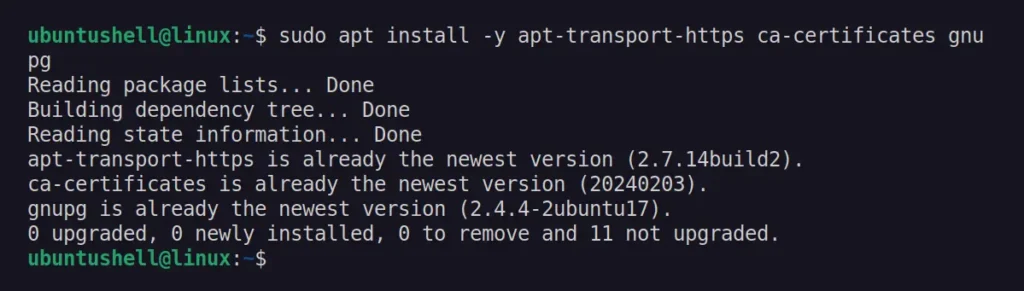
Step 3: Add the Microsoft Package Repository
This is the important part where you will download and install the DEB package provided by Microsoft that will add the Microsoft package repository and singing key, which will later be used to install .NET 8.0.
📝 Note
Make sure to replace "26.04" with another version of Ubuntu to add their repository and signing key.
# Download the Microsoft signing key.
$ wget https://packages.microsoft.com/config/ubuntu/26.04/packages-microsoft-prod.deb -O packages-microsoft-prod.deb

# Install the downloaded package.
$ sudo dpkg -i packages-microsoft-prod.deb

# Update the package database.
$ sudo apt update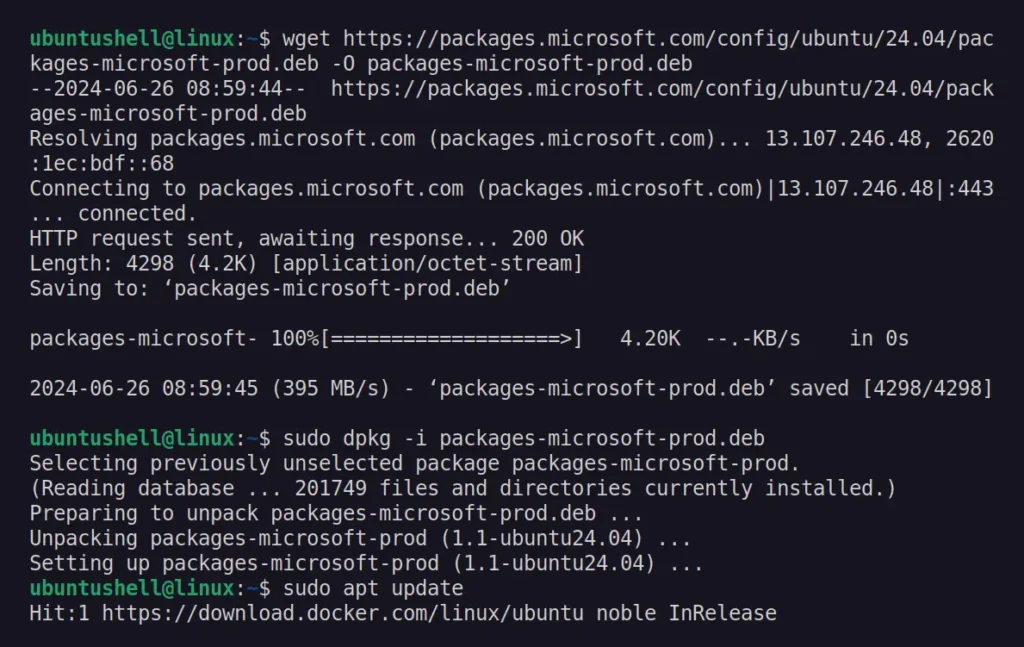
Step 4: Install .NET SDK
Finally, you can install the .NET 8.0 SDK, which includes everything needed to build and run .NET applications using the previously added Microsoft package repository.
$ sudo apt install -y dotnet-sdk-8.0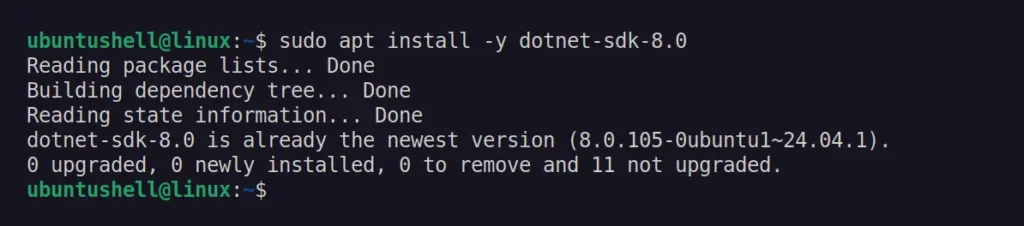
Once the installation is complete, you can verify the version using this command:
$ dotnet --version
Step 5: Install .NET Runtime (Optional)
The .NET SDK has been installed and includes all necessary components for developing a .NET Core application. However, to run the .NET application, you must install the runtime (which creates a virtual machine) that hosts/runs the .NET application.
📝 Note
The runtime is typically included in the SDK, but if it isn't, you can install it using the following command:
$ sudo apt install -y dotnet-runtime-8.0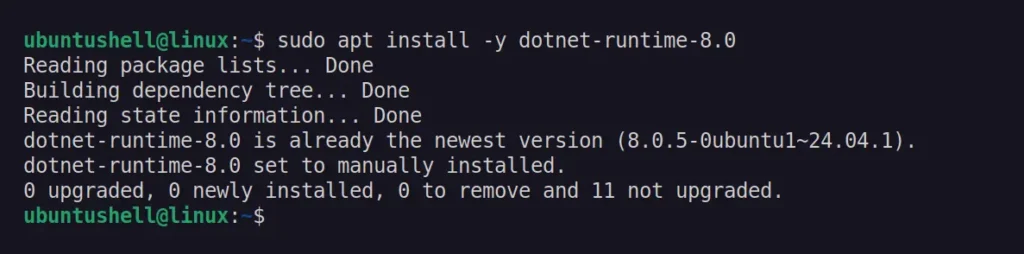
Then, to confirm, you can list the installed runtime.
$ dotnet --list-runtimes
Step 6: Create a Simple .NET Application
Now that we have everything installed and configured to build and run our .NET application, you can begin by creating a simple .NET application using these commands.
# Create a new console application.
$ dotnet new console -o dotnet-app

# Navigate to the application directory.
$ cd dotnet-app/

# Run the application.
$ dotnet run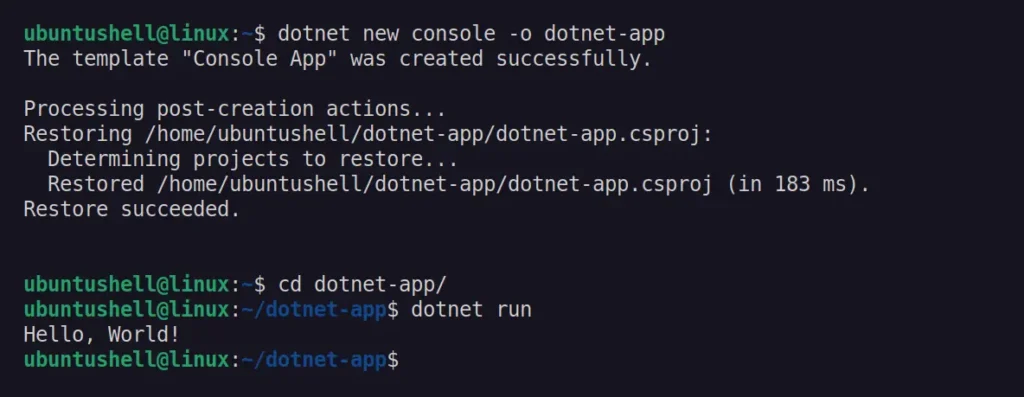
Congratulations! You have successfully built your first .NET application on Ubuntu.
If you are comfortable with Linux commands, you can use the dotnet --help option to explore various flags that can be paired with the dotnet command to build applications in different ways.
If you're a fresh beginner, start by learning some C#, then get into creating your desired application in .NET with guidance from the documentation, and be sure to report any issues or bugs here.


