MediaWiki is a free and open-source wiki software developed by Magnus Manske in 2002 for Wikipedia. It proved so effective in managing millions of users that numerous Linux forums also use MediaWiki.
The official site provides access to the source code under the GNU General Public License (GPL). So, if you're planning on hosting a single instance of MediaWiki for your personal documentation, you've landed in the right spot.
In this article, I'll show you how to install and configure MediaWiki on Ubuntu 24.04, which will also work for Ubuntu 23.04 and other versions.
How to Install MediaWiki on Ubuntu 24.04
The installation of MediaWiki requires multiple tools like Apache, PHP, and MySQL to set up a server. If you plan to perform this installation on a cloud server like DigitalOcean, you will need SSH access to execute all the commands mentioned here.
Additionally, make sure that your cloud server public IP address is linked to your domain DNS record. Otherwise, you will need to access the server via the public IP address.
Finally, if you are performing these steps on your local machine, then you can simply use your command prompt to execute the mentioned commands. So, let's begin now.
Step 1: Install Required Packages
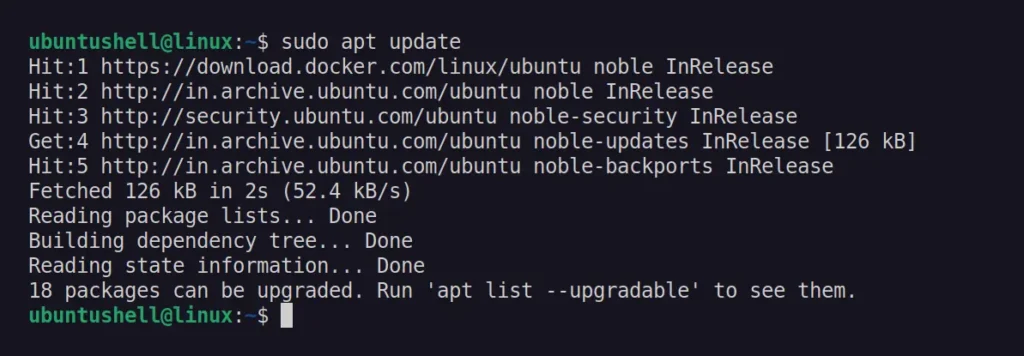
The first step is to ensure your package database is up-to-date to receive the latest versions of the required packages.
$ sudo apt updateOutput:
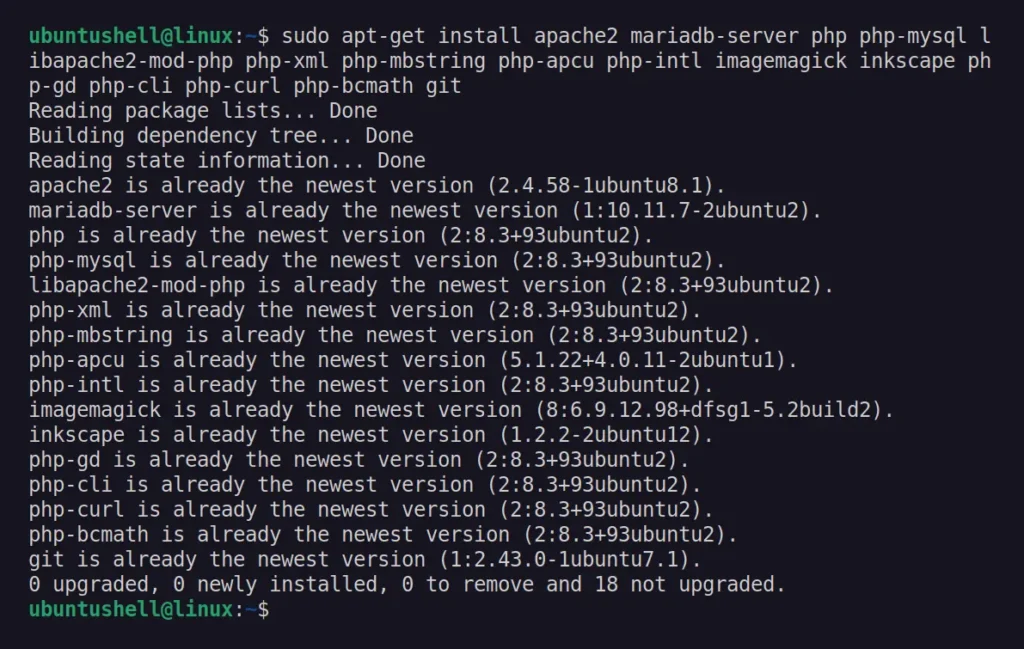
Then install the necessary packages like Apache, MariaDB, PHP, ImageMagick, and a few additional PHP modules.
$ sudo apt-get install apache2 mariadb-server php php-mysql libapache2-mod-php php-xml php-mbstring php-apcu php-intl imagemagick inkscape php-gd php-cli php-curl php-bcmath gitOutput:
Make sure that the Apache and MariaDB services are running and in the enabled state (which allows them to automatically start on system boot).
# For Apache2
$ sudo systemctl is-enabled apache2
$ sudo systemctl status apache2

# For MariaDB
$ sudo systemctl is-enabled mariadb
$ sudo systemctl status mariadb
Output:
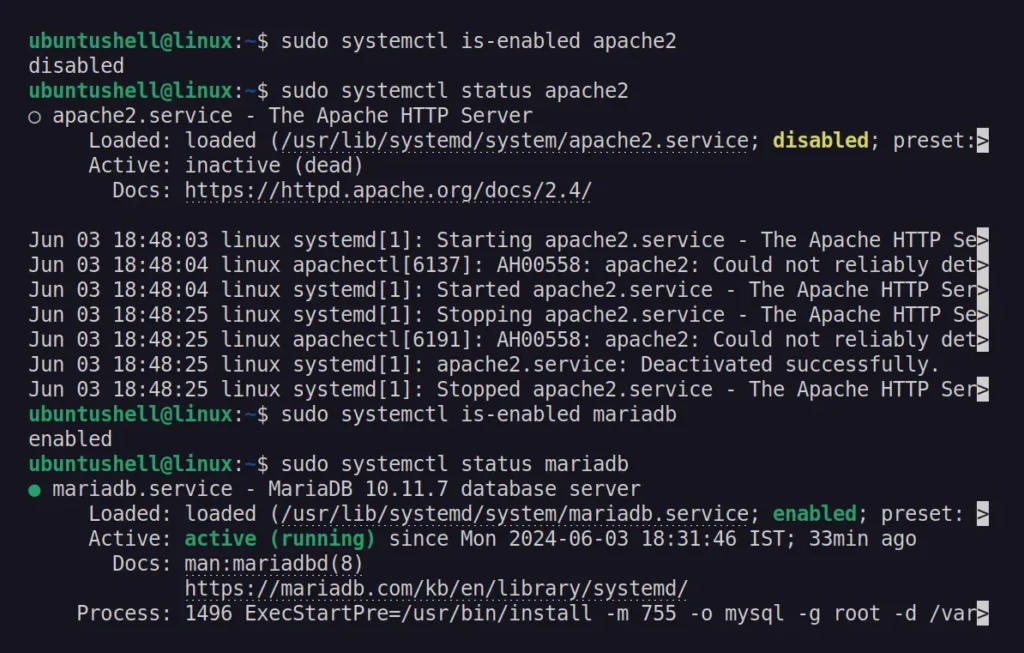
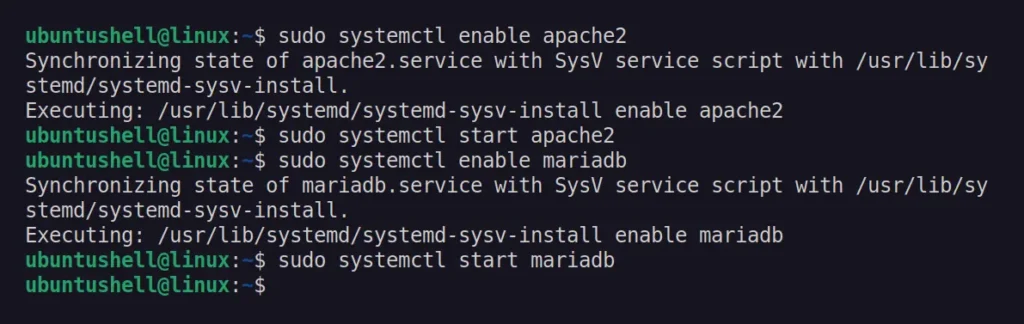
If the services are running and enabled, you're ready to proceed to the next section. But if not, start the service and set it to the enabled state by running it.
# For Apache2
$ sudo systemctl enable apache2
$ sudo systemctl start apache2

# For MariaDB
$ sudo systemctl enable mariadb
$ sudo systemctl start mariadb
Output:
Finally, confirm the PHP installation by checking its version:
$ php -vOutput:

Step 2: Set up the UFW Firewall
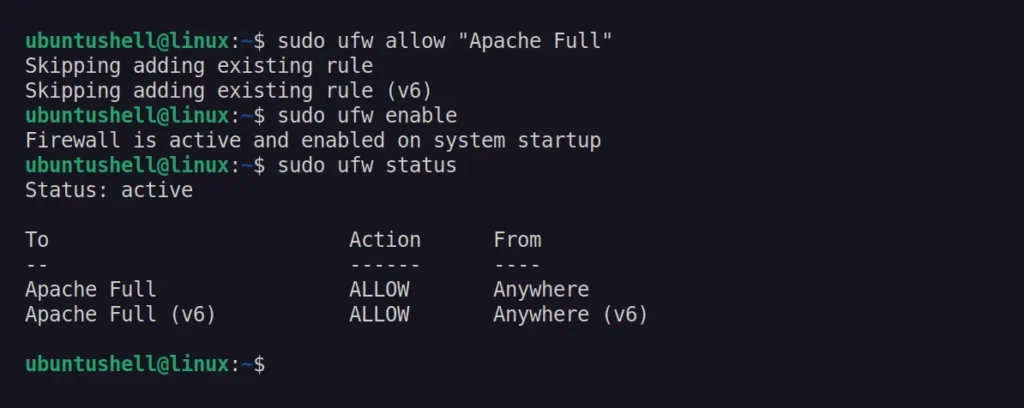
Ubuntu comes preinstalled with UFW (Uncomplicated Firewall), which acts similarly to the Windows Firewall. To prevent interruptions to the Apache service, make sure to add and enable the "Apache Full" profile in UFW by running the command.
$ sudo ufw allow "Apache Full"Once you've enabled profiles, activate the UFW service and confirm the UFW record update by running:
$ sudo ufw enable
$ sudo ufw status
Output:
Step 3: Adjust the PHP Configuration Directives
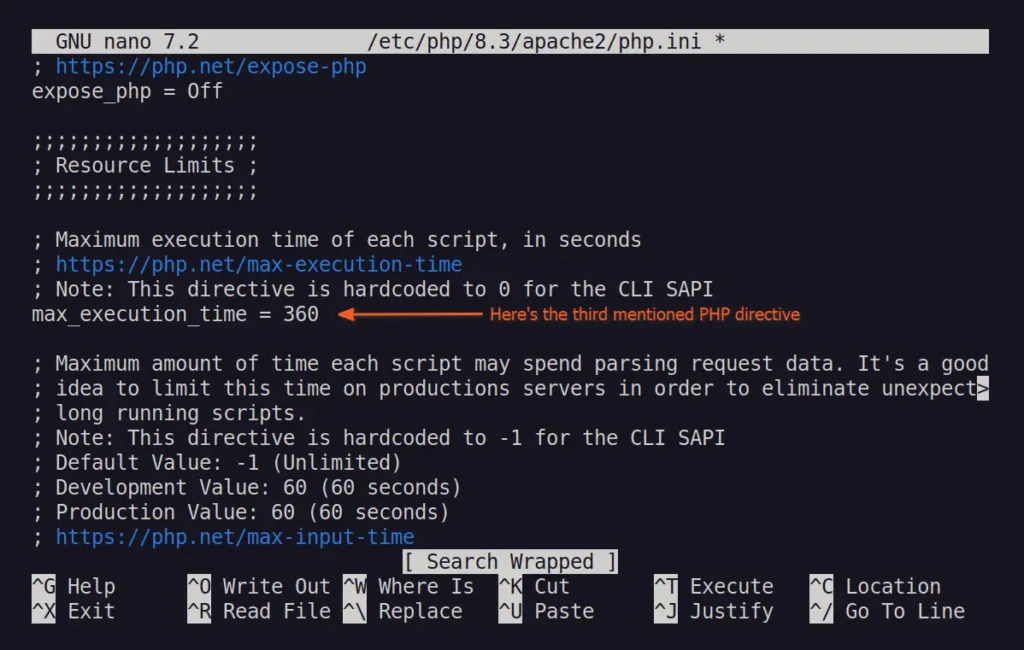
These are the optional steps as mentioned in the MediaWiki documentation, but I would suggest going further and editing the "php.ini" configuration file for the mentioned PHP directives.
- "upload_max_filesize = 50M": Allow anyone to upload max 50 MB of file.
- "memory_limit = 512M": Increase the maximum amount of memory a PHP script can use.
- "max_execution_time = 360": Set the maximum duration in seconds for a frozen PHP script to run before it's terminated (in this case, 6 minutes).
To update this PHP directive, just use the command below to edit the "php.ini" using the Nano editor, then locate them, uncomment (by removing the # prefix), and adjust the default value to the aforementioned one or customize it to suit your needs.
$ sudo nano /etc/php/8.3/apache2/php.iniOutput:
Once finished, save and close the file, then restart the Apache web server to apply the new PHP configuration changes.
$ sudo systemctl restart apache2Output:

Step 4: Configure MariaDB Server
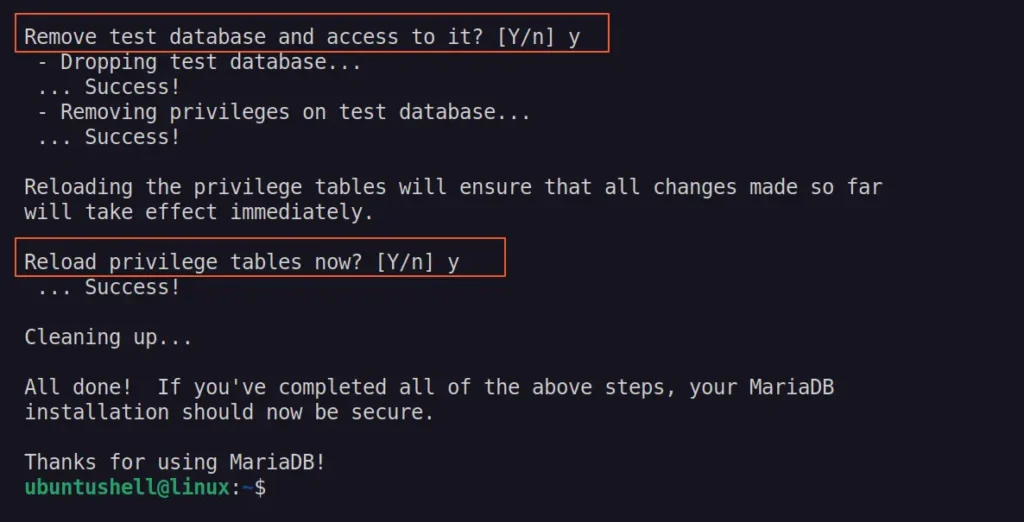
Now that Apache and PHP are configured, it's time to secure the MariaDB server. You heard it right; securing MariaDB is quite straightforward. There's a secure installation script included in the MariaDB package that will enhance MariaDB security by removing anonymous users, test databases, setting the root password, and more.
So, to secure your MariaDB server, simply run the command below:
$ sudo mariadb-secure-installationIt will prompt you to configure the root password and change authentication to "unix_socket".
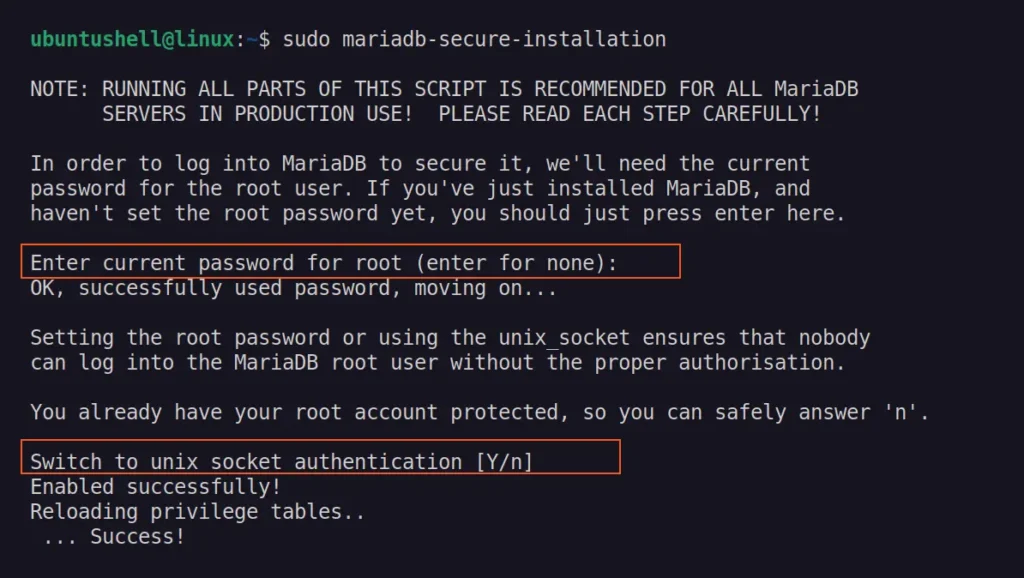
It will then ask you to change the root password (skip if already set), remove the anonymous user, and disable remote root login.
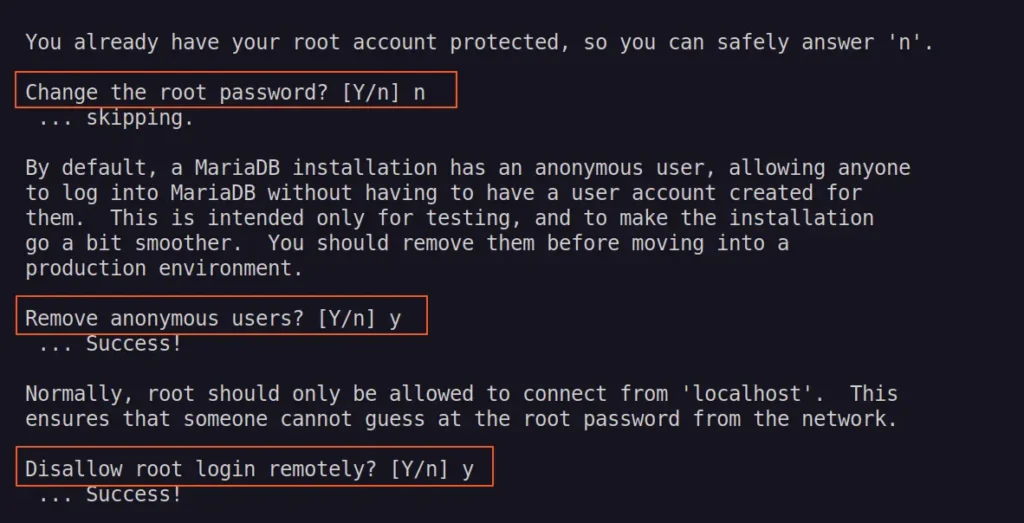
Finally, confirm the test user's removal and refresh the privileges tables to apply the changes.
Step 5: Create Database for MediaWiki
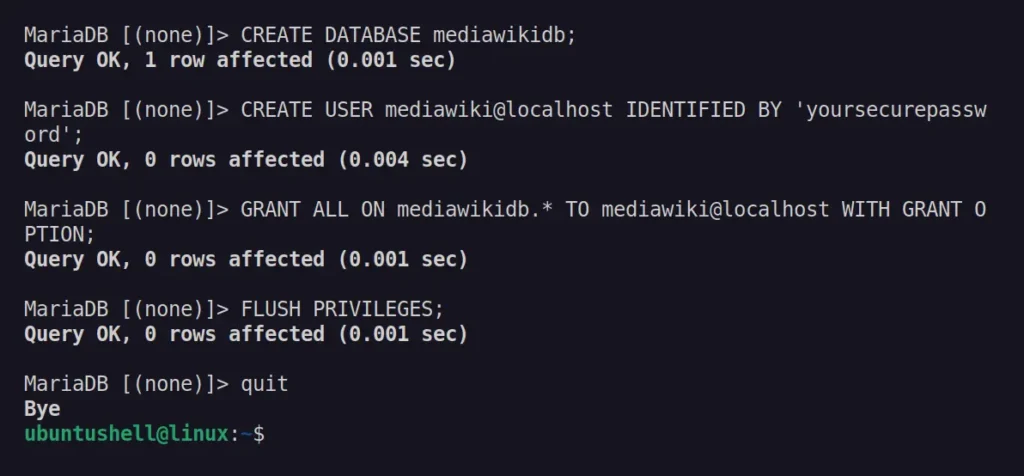
Now that MariaDB is secure, you can move forward to create a database that MediaWiki will use for storing logins, documents, file paths, etc. Thus, start by logging into the MariaDB server with this command:
$ sudo mariadb -u root -pThen execute the following command to create a new database, MySQL user, grant the user access to the created database, and then flush the privileges to apply changes. While you may change the database name and MySQL user (highlighted in green), you should definitely change the password for the MySQL user (highlighted in red).
CREATE DATABASE mediawikidb;
CREATE USER mediawiki@localhost IDENTIFIED BY 'yoursecurepassword';
GRANT ALL ON mediawikidb.* TO mediawiki@localhost WITH GRANT OPTION;
FLUSH PRIVILEGES;
You can now exit the MariaDB interpreter by running quit:
Step 6: Setup MediaWiki
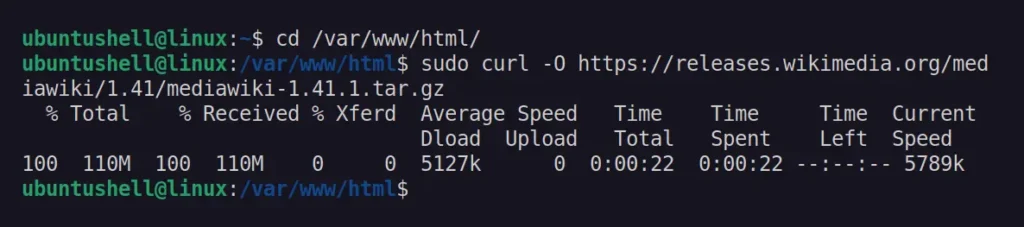
Apache, PHP, and MariaDB are ready. You can now move to the default root directory of the webserver and download the MediaWiki source file using the following wget command, which will download the "1.41.1" version. For future releases, check the release page and download the respective version, or replace the occurrence of "1.41.1" in the following command.
$ cd /var/www/html/
$ sudo curl -O https://releases.wikimedia.org/mediawiki/1.41/mediawiki-1.41.1.tar.gz
Output:
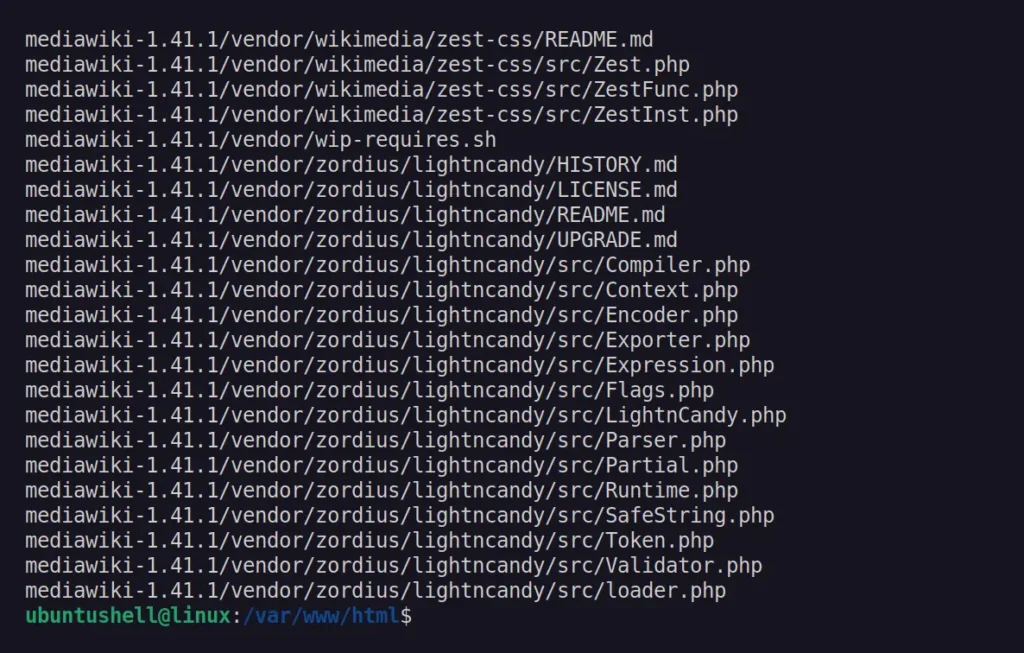
Once the download is complete, extract the MediaWiki source file and move all its contents to the root directory of your web server.
$ sudo tar -xvzf mediawiki-*.tar.gz && sudo mv mediawiki-*/* .Output:
Step 7: Secure MediaWiki with HTTPS
The step involves securing your MediaWiki with HTTPS protection; if you are already using HTTPS protection from Cloudflare or performing these steps on localhost, you can skip this method and proceed to the next one.
Otherwise, open your terminal and execute the following command to install certbot and python3-certbot-apache packages.
$ sudo apt install certbot python3-certbot-apacheThen obtain a new SSL certificate for your domain.
$ sudo certbot --apache -d your_domain.comStep 8: Configure MediaWiki
This is the final step. Open your browser and visit your MediaWiki using your domain name, or localhost if you are performing these steps on a local machine.
https://your_domain.com
#OR
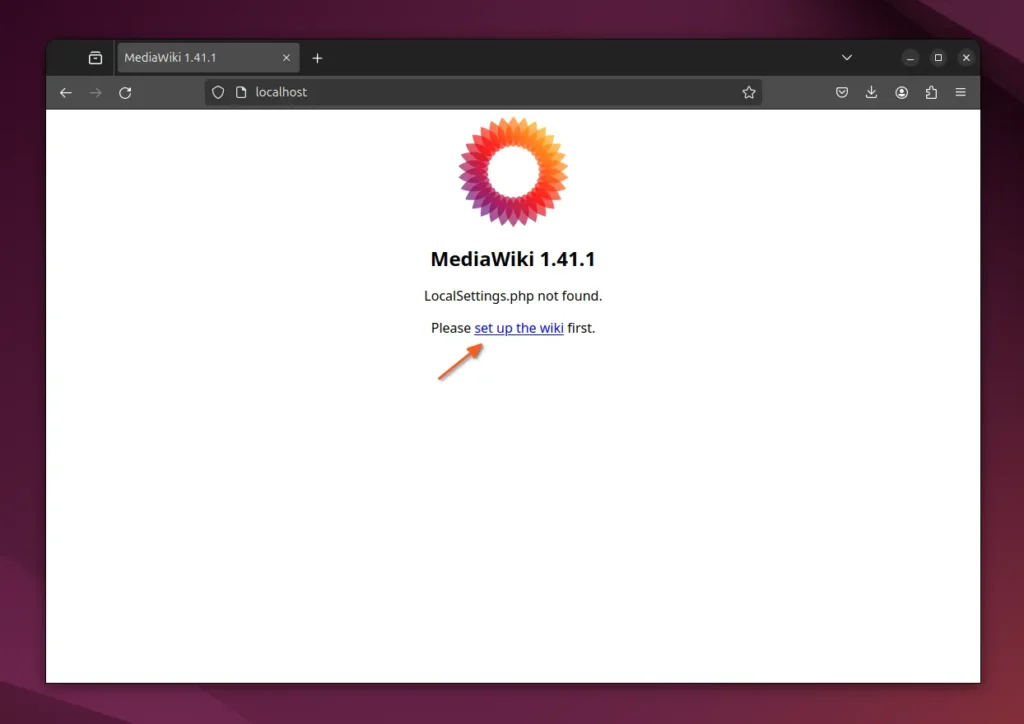
http://localhostWhen you visit it for the first time, you will encounter the following page, where you must click the "set up the wiki" link and begin the configuration.
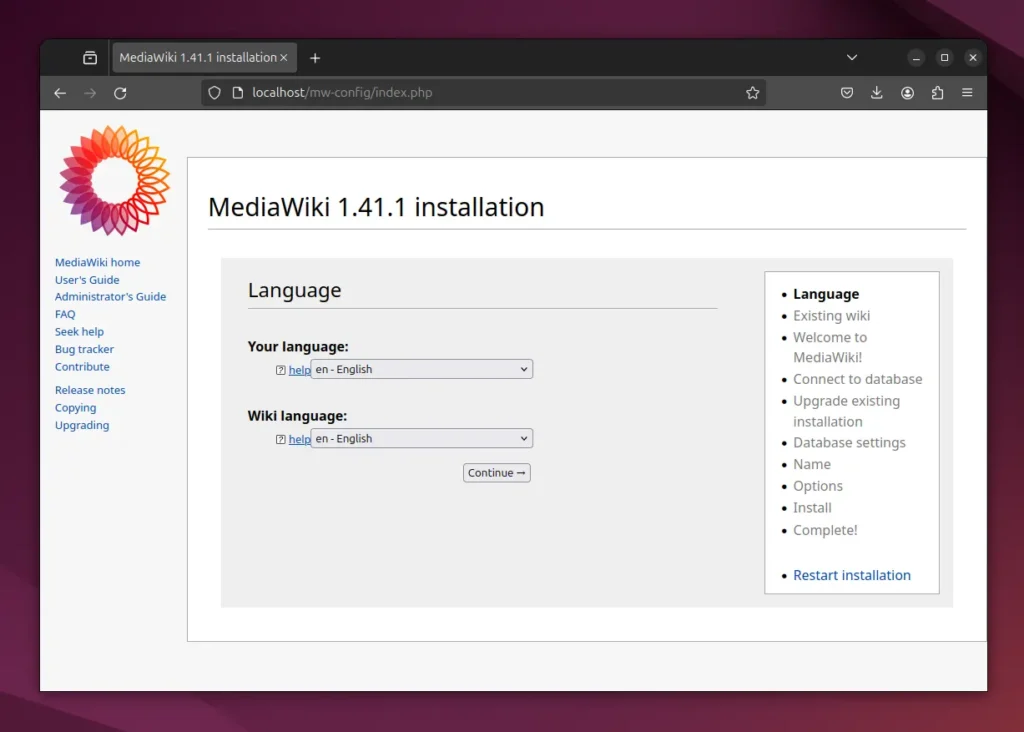
Select your preferred language for MediaWiki and click Continue.
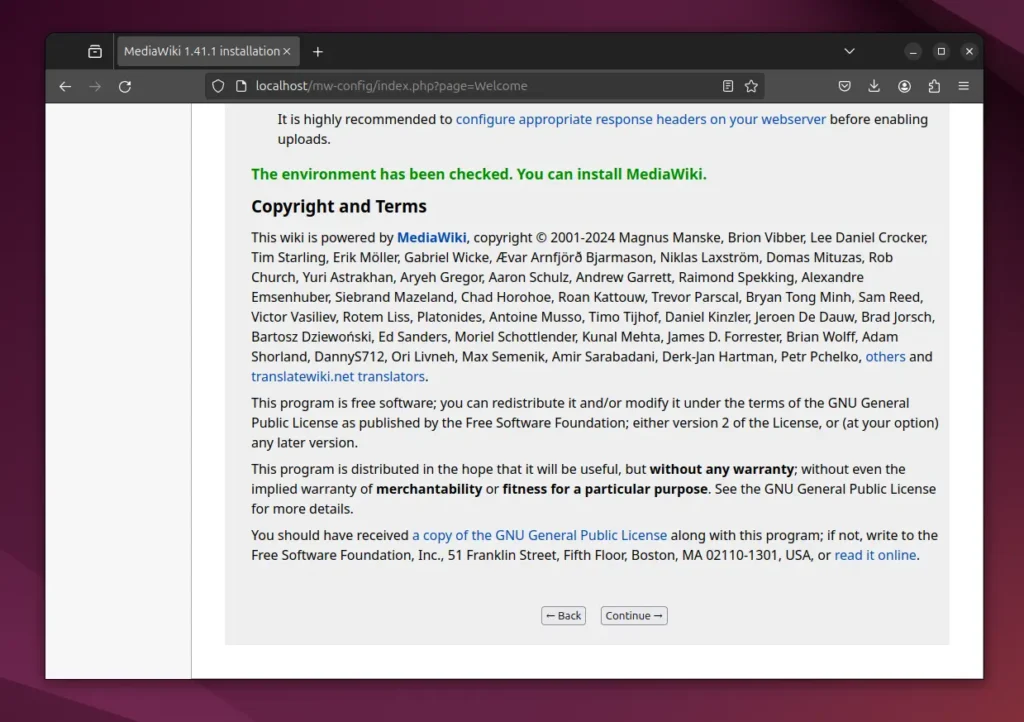
Select Continue to agree to the MediaWiki license terms.
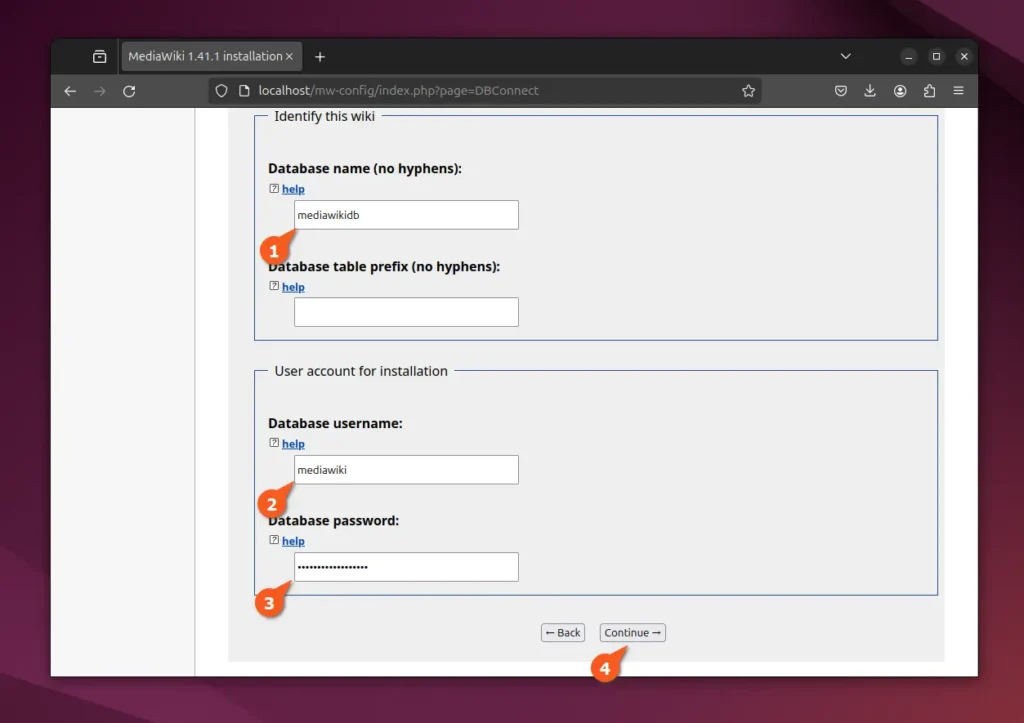
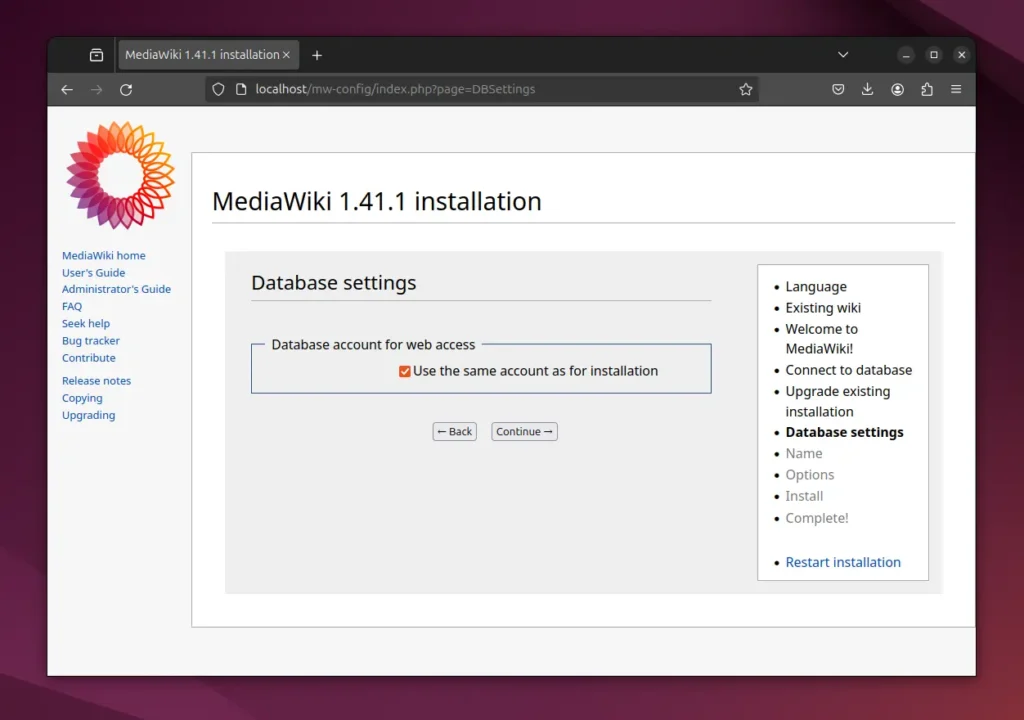
Input the database details you used when creating in step five, then click Continue.
Leave this setting as default and click Continue.
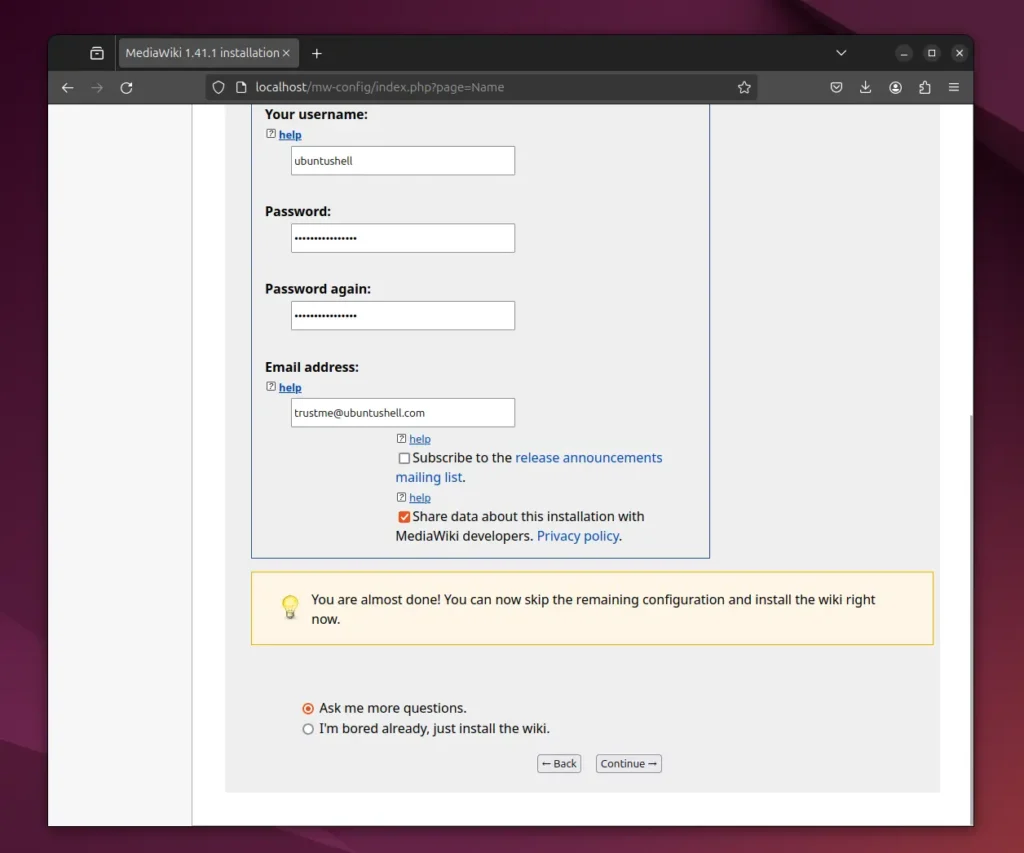
Input a new name for your wiki and set up a new administrator account by entering the username, password (twice), email address, and then proceed by clicking Continue.
On this page, it asks for a few additional settings that you can customize according to your preferences. If you ask for my advice, try changing the theme to something different, and when you're ready, click on Continue.

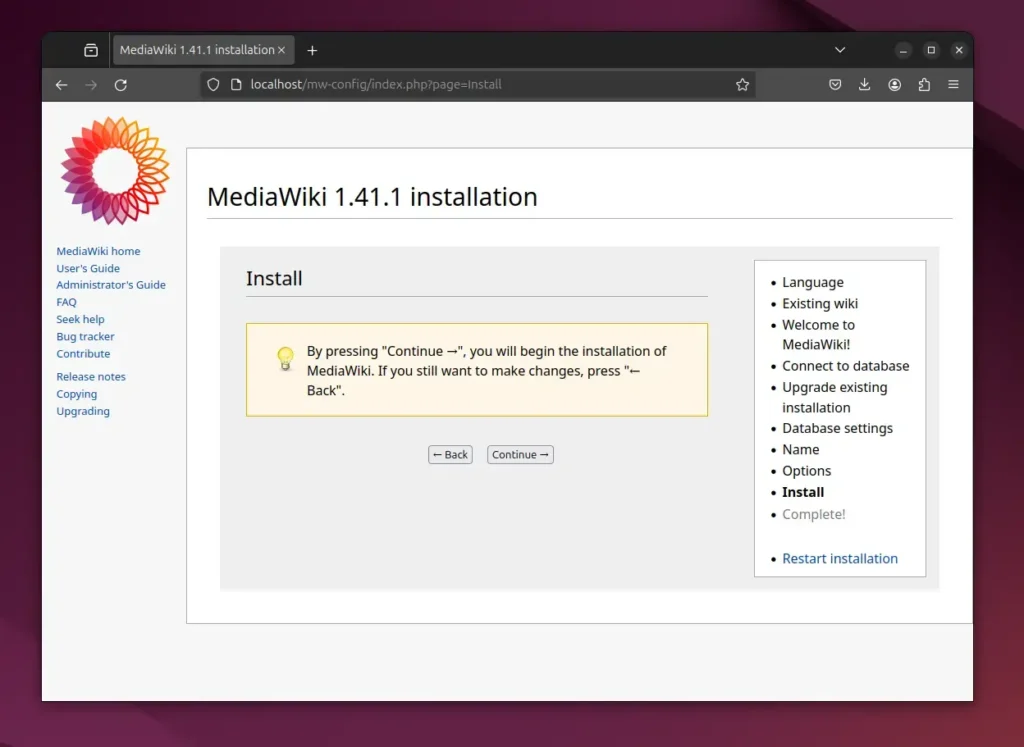
Click Continue to confirm the installation.
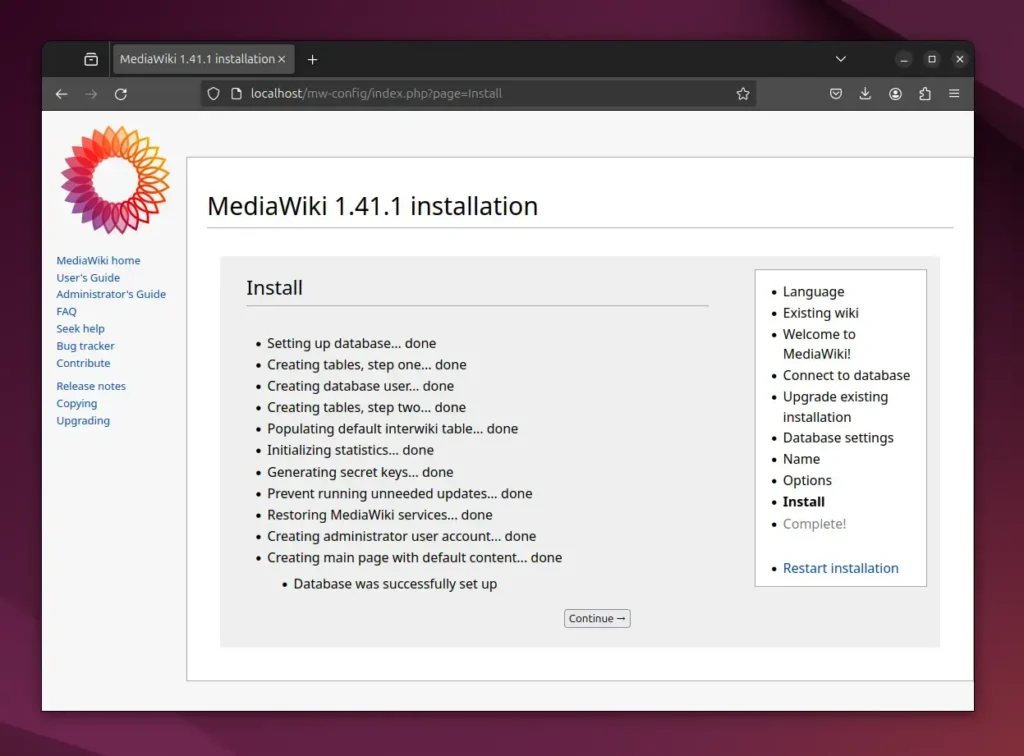
Once the installation and configuration are complete, click on Continue again.
The "LocalSettings.php" file will now automatically be downloaded, and you'll need to move it to the default root directory of your web server where you extracted the MediaWiki source file.
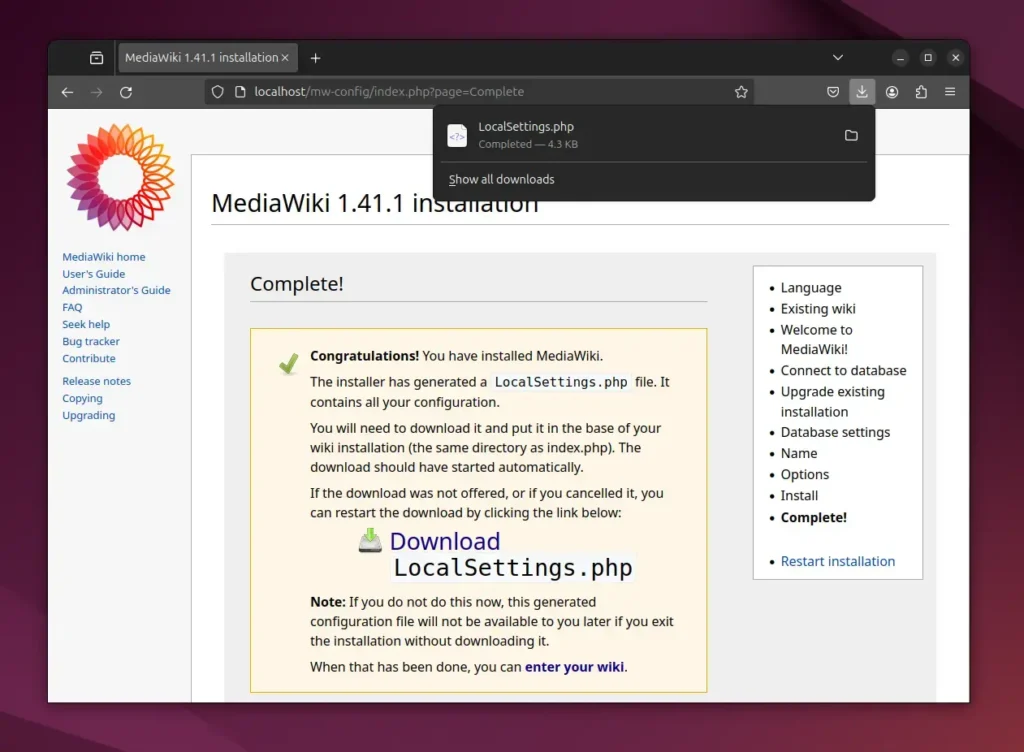
If you're using a cloud server, upload it as you wish, then ensure the file is moved to the root directory of the webserver. For example, if I saved the "LocalSettings.php" file in the "~/Downloads/" directory, the command to transfer it to the MediaWiki installation directory would appear like this:

Once you've finished moving the file, you can revisit the MediaWiki home page.
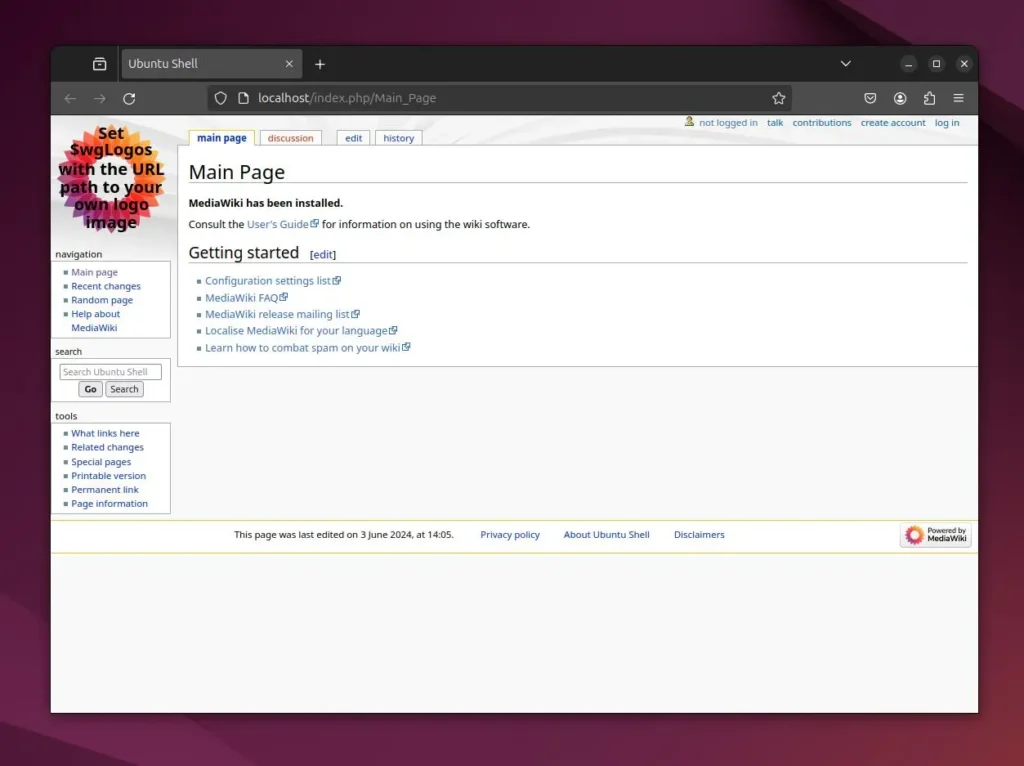
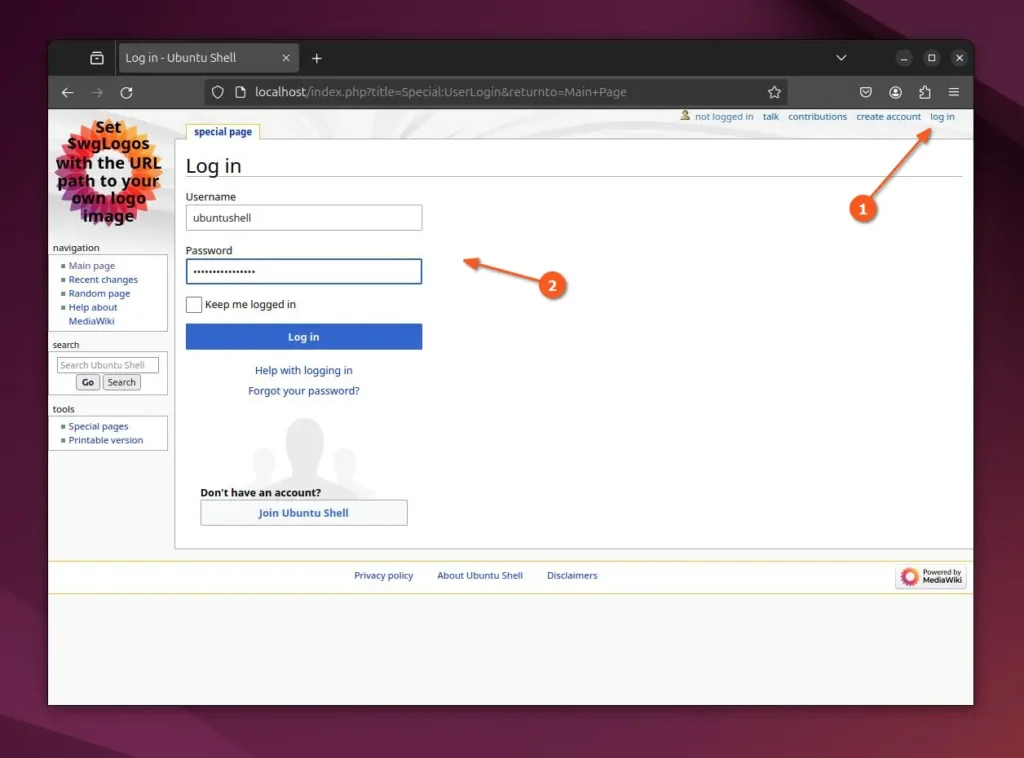
You can now start using MediaWiki by logging into your admin account.
Phew, we've finally completed it! Undoubtedly, this would be my largest article yet. I hope you found the instructions in this article simple to follow and were able to set up MediaWiki on Ubuntu 24.04 effortlessly.


