
Node.js is a free, open-source, cross-platform JavaScript runtime environment that can run on Linux, Windows, and macOS and is used to build server-side web applications. The top companies that favor Node.js are Netflix, Uber, PayPal, LinkedIn, and many more.
It offers various features such as asynchronization, scalability, cross-platform compatibility, a single-threaded event-driven loop, and support for JavaScript syntax.
In this article, I'll show you how to install Node.js and NPM on Ubuntu 24.04 using the default repository, NodeSource, and NVM. Aside from the first method, the other methods will allow you to install specific versions of Node.js and NVM.
Table of Contents
Install Node.js and NPM on Ubuntu 24.04
The first method using the default repository is the simplest and most recommended for beginners, as it provides a stable (though not the latest) version of Node.js and NPM. However, if your work requires the latest or a specific version of Node.js and NPM, you can choose one of the other two NodeSource and NVM methods.
Method 1: Install Node.js and NPM Using Default Repository
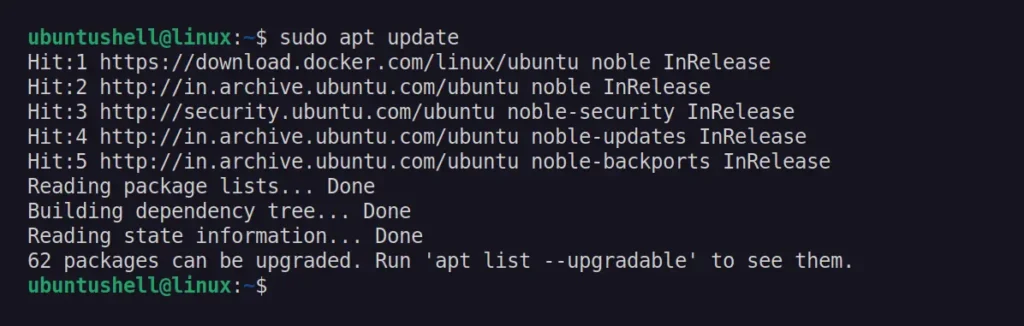
1. Update the APT repository information using the following command:
$ sudo apt updateOutput:
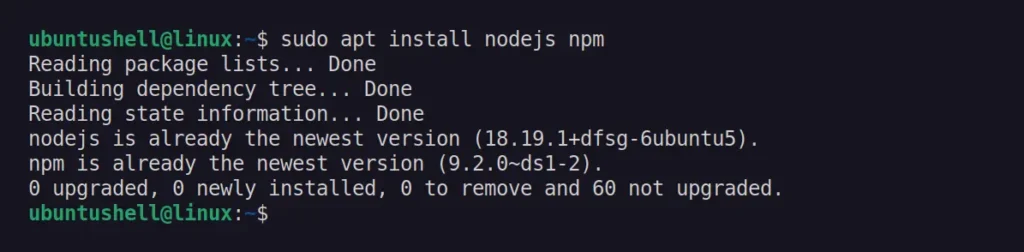
2. Install Node.js and NPM from the default repository by running:
$ sudo apt install nodejs npmOutput:
3. After installation, you can run this command to check the version.
$ nodejs -v && npm -vOutput:

As of now, Node.js v18 and NPM v9 are available from the default repository.
Method 2: Install Node.js and NPM Using NodeSource
This method involves adding the specific version of the Node.js NodeSource repository, then installing Node.js from the added repository. Before you follow this method, make sure that Node.js and NPM are not already installed on your system; if they are, ensure they are removed, and then follow these steps:
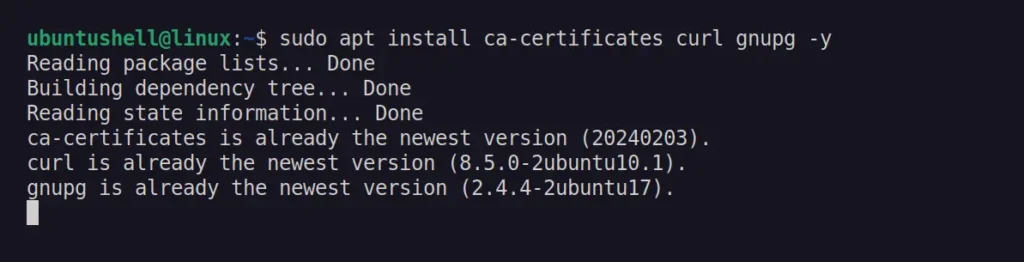
1. Install the required dependencies.
$ sudo apt install ca-certificates curl gnupg -yOutput:
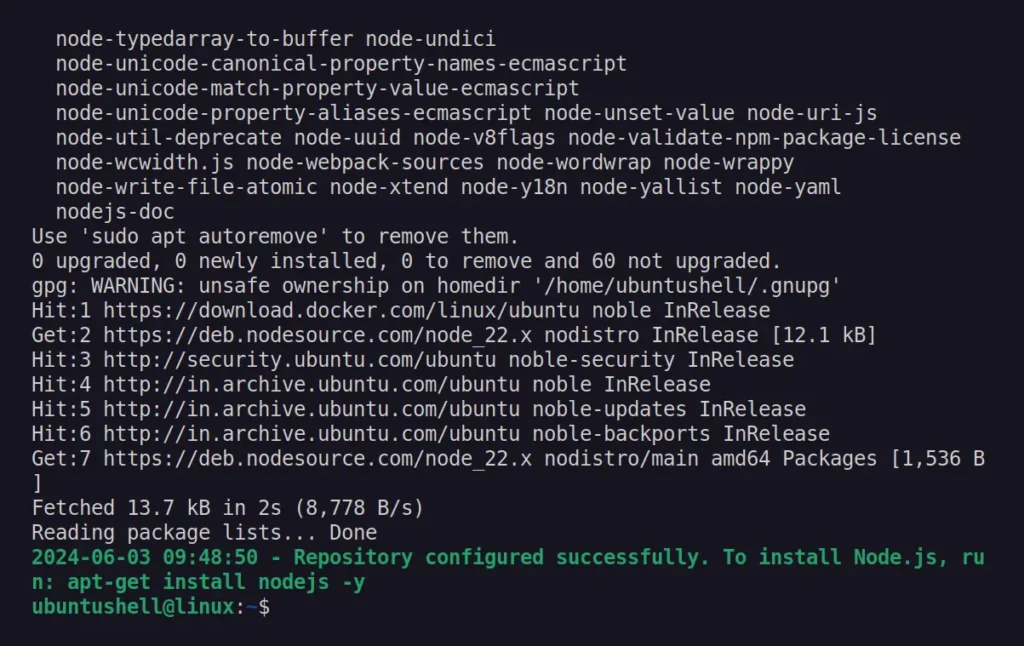
2. NodeSource provides multiple custom scripts for different versions of Node.js, and you can find the supported versions for your system on their GitHub repo. For Ubuntu 24.04, the Node.js v22 script is available and can be added using the following command:
📝 Note
To use the NodeSource script for a different version of Node.js, simply replace all occurrences of "22" in the script below with your chosen one.
$ curl -fsSL https://deb.nodesource.com/setup_22.x | sudo -E bash -Output:
3. After running the script, you can now install Node.js (that includes NPM) corresponding to your chosen script (for now, it's v22).
$ sudo apt install nodejsOutput:

4. Lastly, you can verify the version of Node.js and NPM by running:
$ nodejs -v && npm -vOutput:

This method will install NPM v10 in conjunction with Node.js v22.
Method 3: Install Node.js and NPM Using NVM
NVM (Node Version Manager) is a handy tool that allows you to seamlessly manage multiple Node.js versions concurrently without conflicts. This approach is particularly useful if you prefer using beta versions of Node.js alongside stable ones for production.
1. Run the following command to download the NVM installation script and install NVM at the specified destination.
$ curl https://raw.githubusercontent.com/creationix/nvm/master/install.sh | bashOutput:
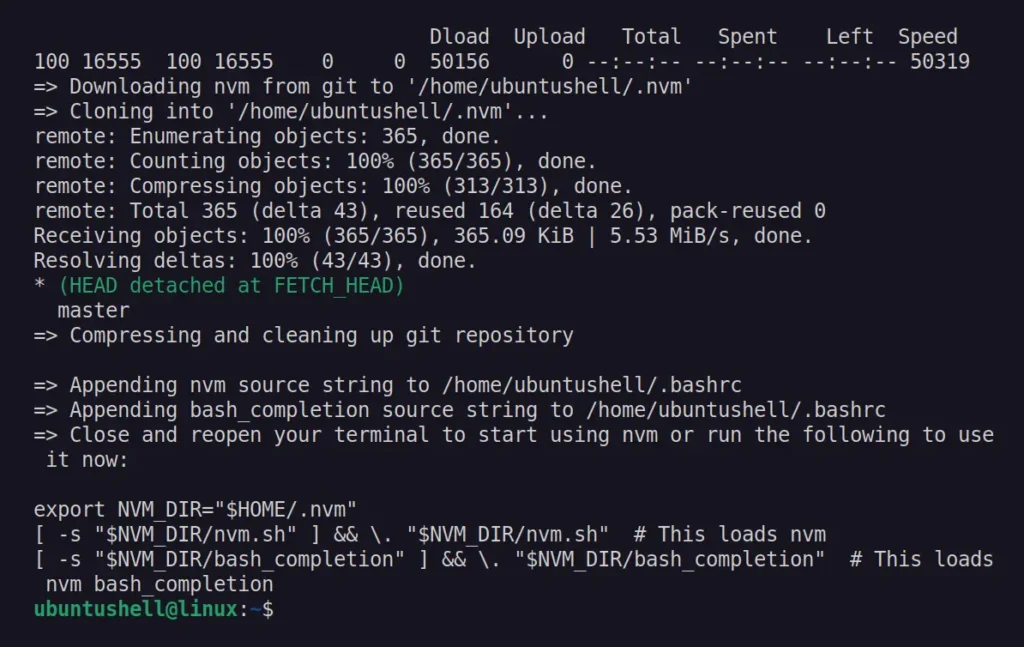
2. Reloading the changes in your shell configuration file by running:
$ source ~/.bashrcOutput:

You now have NVM installed on your Ubuntu 24.04 system.
3. To list all the available versions of Node.js, use the command below.
$ nvm list-remoteOutput:
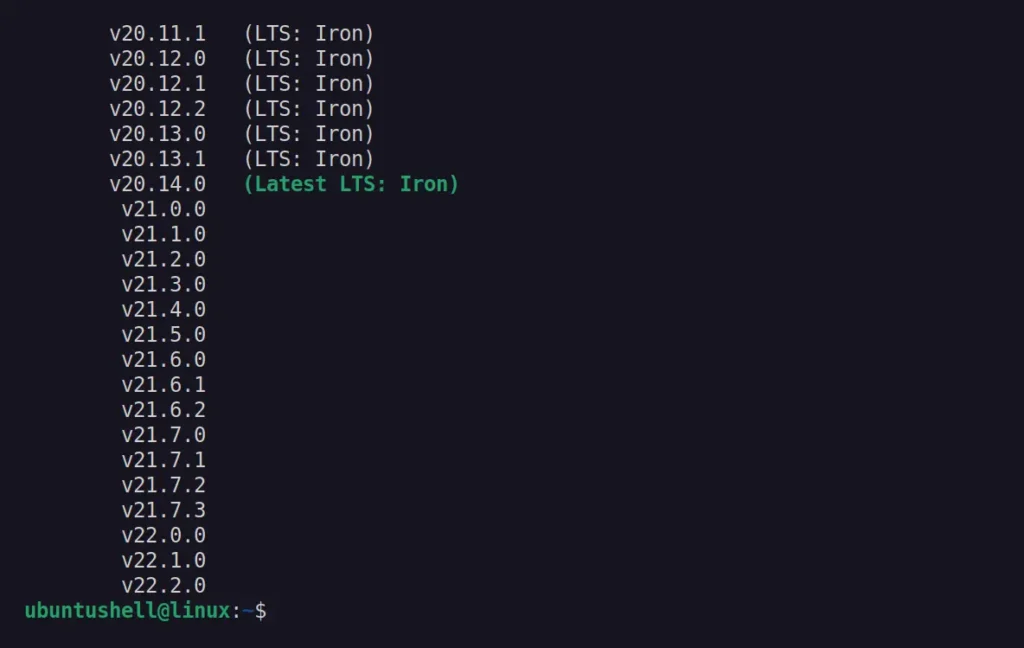
The command above will return a list of Node.js versions in the "vX.X.X" format, where you simply ignore the prefix "v" and make note of your desired "X.X.X" version.
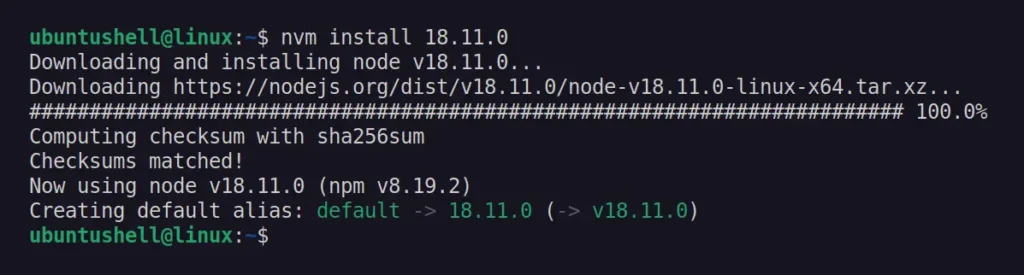
4. Select your desired Node.js version for installation (let's say, "v18.11.0") and designate it in the following command:
$ nvm install 18.11.0Output:
5. Once the installation is complete, your desired Node.js version will be set as the default. Therefore, run the following command to list all installed Node.js versions:
$ nvm lsOutput:
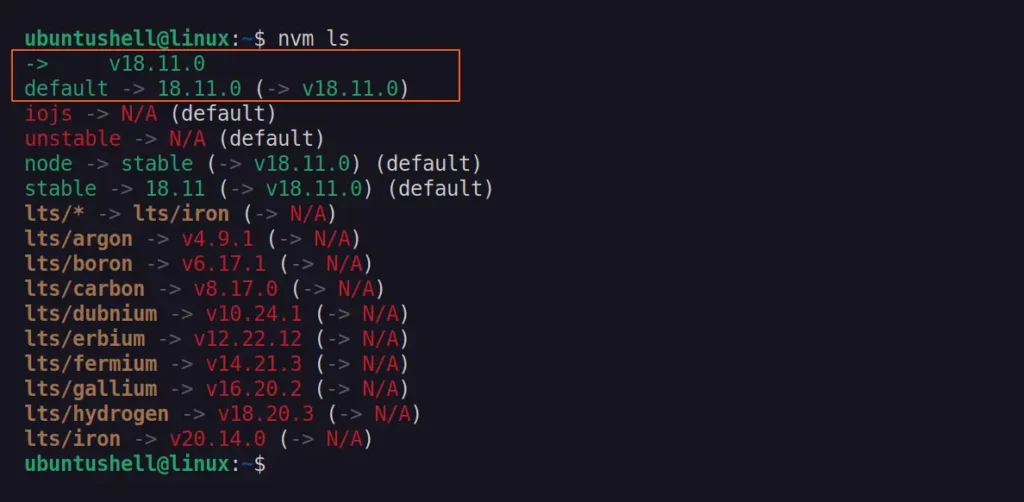
6. I have only one version of Node.js installed, but if you've installed multiple versions, you can choose which one to keep as the default by specifying the Node.js version in the following command:
$ nvm use X.X.X7. To avoid reverting to the previous default Node.js version in the next terminal session, simply execute the following command with your desired Node.js version:
$ nvm alias default X.X.XUninstall Node.js and NPM from Ubuntu 24.04
The removal process for Node.js and NPM varies based on the installation method you've selected. Nonetheless, I've included removal steps for all methods discussed in this article. Therefore, opt for the removal method corresponding to your chosen installation method.
Removing Node.js Using Default Repository
Just open your terminal and run the following command to remove Node.js and NPM:
$ sudo apt remove nodejs npmRemoving Node.js Using NodeSource
Run the following command to remove Node.js (which includes NPM), and then delete the NodeSourece repository added at the target location.
$ sudo apt purge nodejs && sudo rm -r /etc/apt/sources.list.d/nodesource.list && sudo rm -r /etc/apt/keyrings/nodesource.gpgRemoving Node.js Using NVM
First, run the following command to delete the NVM directory:
$ rm -rf "$NVM_DIR"Open the "~/.bashrc" file, then find and delete the specified lines:
export NVM_DIR="$HOME/.nvm"
[ -s "$NVM_DIR/nvm.sh" ] && \. "$NVM_DIR/nvm.sh" # This loads nvm
[[ -r $NVM_DIR/bash_completion ]] && \. $NVM_DIR/bash_completion
Here ends the article. For beginners, I recommend using the default repository to install Node.js and NPM, as it's more convenient for future updates. However, if you need to install multiple versions of Node.js and NPM, NodeSource and NVM are unbeatable options (by the way, I personally prefer NVM).


")
")
")

