In this article, I'll show how to install PostgreSQL on Ubuntu 26.04, which will also work with Ubuntu 26.04 and other versions. We'll then proceed to configure PostgreSQL, including changing the root password and setting up remote access. Lastly, we'll access the PostgreSQL console and perform a basic task, such as creating a database.
Install PostgreSQL on Ubuntu
To install PostgreSQL on Ubuntu 26.04, we'll begin by updating the system, adding the PostgreSQL repository, and then installing the latest version of PostgreSQL. So, let's get started with…
Step 1: Updating Your System
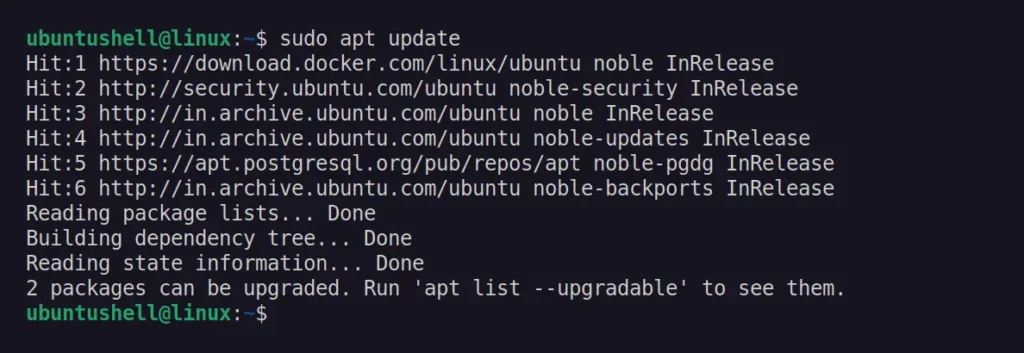
Prior to installation, make sure to update your system package database and pending updates by running the command below:
$ sudo apt update && sudo apt upgrade -yOutput:
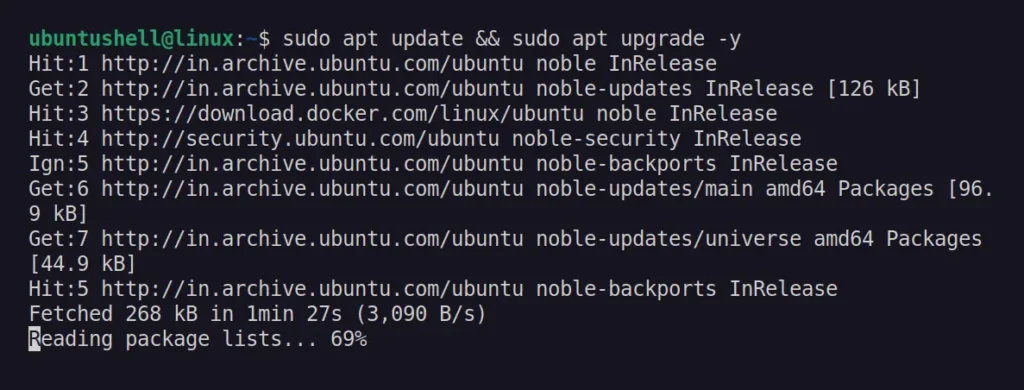
Depending on the pending updates, the updating process might take some time.
Step 2: Add the PostgreSQL Repository
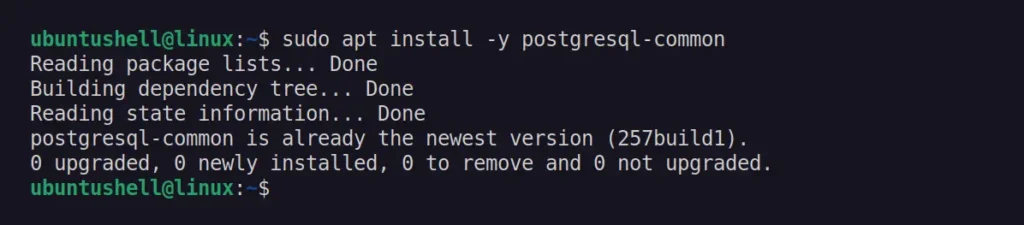
PostgreSQL official APT repository allows you to install the latest version of PostgreSQL. But before adding that, make sure to install the postgresql-common package, which includes the PGDG APT repository and utilities for managing PostgreSQL.
$ sudo apt install postgresql-commonOutput:
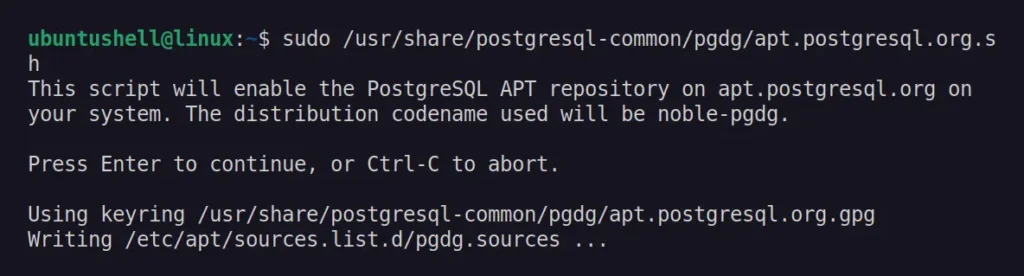
You can now execute the following command to add the PostgreSQL Global Development Group (PGDG) APT repository to your system.
$ sudo /usr/share/postgresql-common/pgdg/apt.postgresql.org.shOutput:
Step 3: Install PostgreSQL
Prior to installation, make sure to update your package database again to reflect the new changes made after adding the PostgreSQL repository.
$ sudo apt updateOutput:
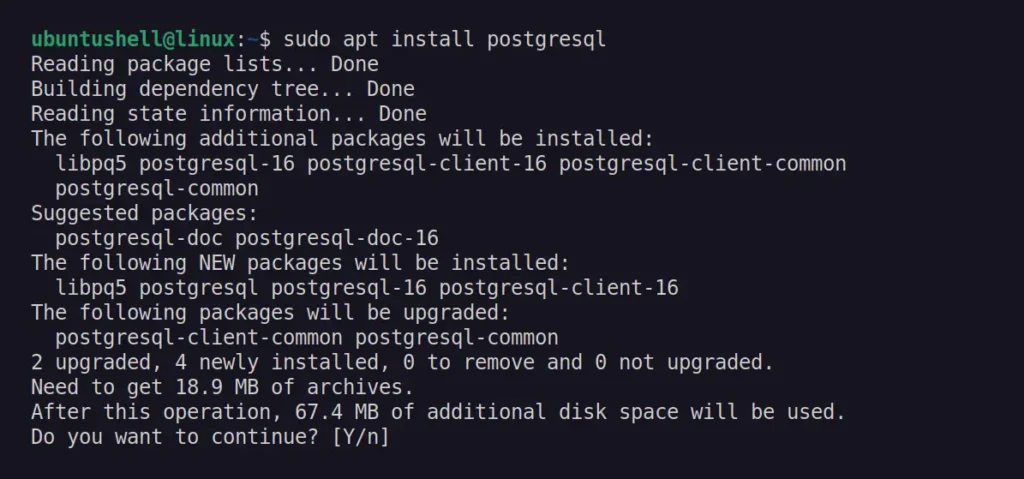
You can now install the latest PostgreSQL by running the command below:
$ sudo apt install postgresqlOutput:
Step 4: Start PostgreSQL Service
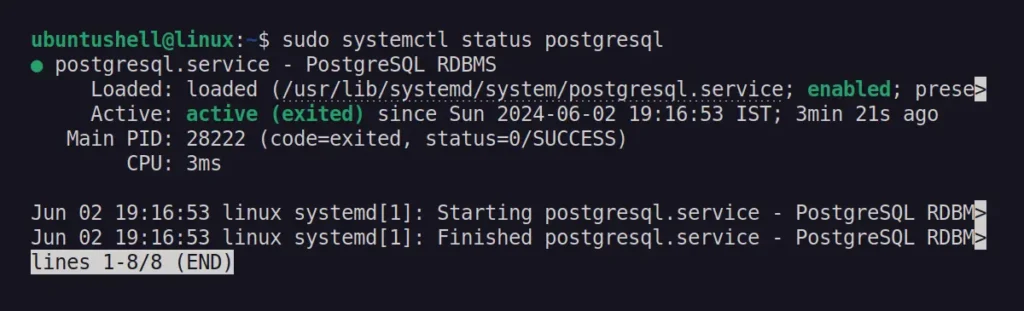
During the PostgreSQL installation process, a Systemd service is created to manage the PostgreSQL service. To ensure this service is running, use:
$ sudo systemctl status postgresqlOutput:
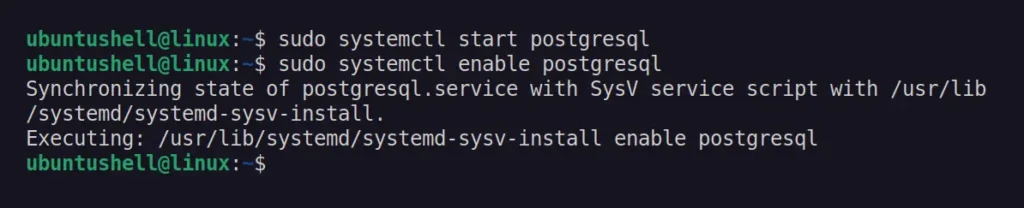
If the service isn't running, then start it and ensure to enable it, which allows it to automatically start during system boot.
$ sudo systemctl start postgresql
$ sudo systemctl enable postgresql
Output:
Access PostgreSQL Console on Ubuntu
Once the installation is complete, you can access the PostgresSQL console as a Postgres user by executing the following command:
$ sudo -i -u postgres psqlOutput:

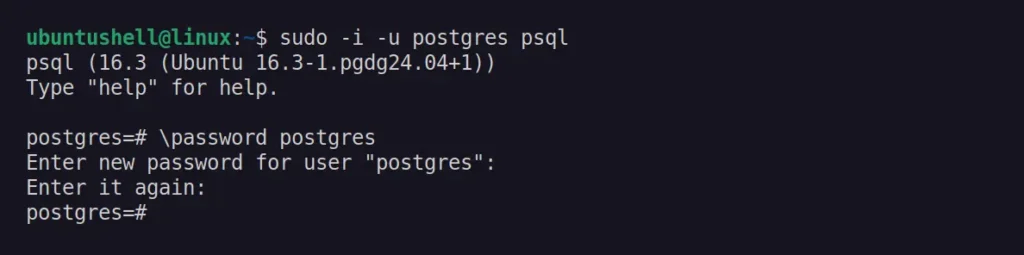
It's always advised to change the password for the Postgres user by running:
\password postgresIt will ask the Postgres user to enter the new password twice.
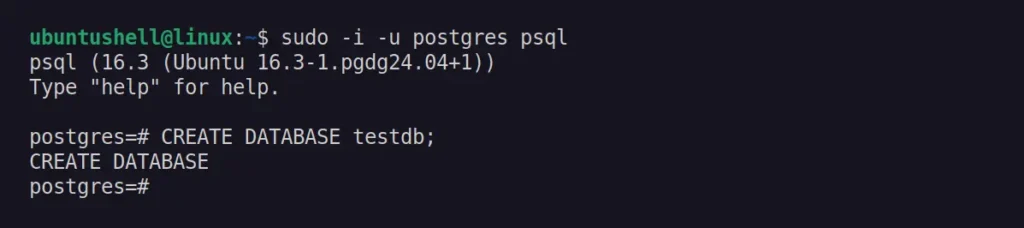
Once you have updated the PostgreSQL user password, you can use the console to execute other PostgreSQL commands. Suppose you want to create a testdb database; for that, you can use the following command:
CREATE DATABASE testdb;Output:
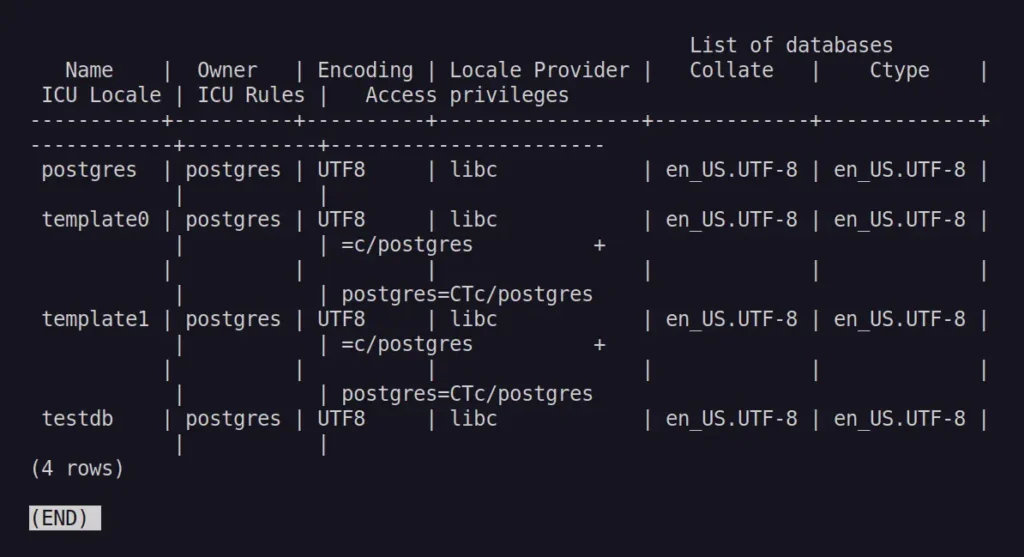
To list all databases in PostgreSQL, you can use the following command:
\lOutput:
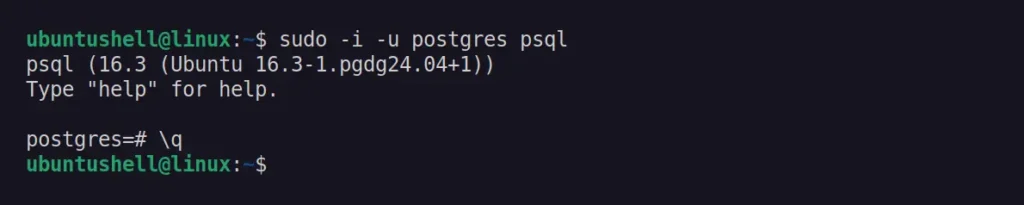
Finally, to quit the PostgreSQL console, run:
\qOutput:
There are numerous PostgreSQL commands available. If you are familiar with MySQL, then you can use those commands in PostgreSQL. But if you're new to PostgreSQL and unfamiliar with relational database management systems (RDMS), nothing would be better than checking out some official PostgreSQL tutorials.
Bonus Tip! Configure Remote Access for PostgreSQL
If you've installed PostgreSQL on a remote server and intend to access it remotely, you may need to modify certain configuration files. Let's begin by editing the "postgresql.conf" file using your preferred text editor (mine is Nano).
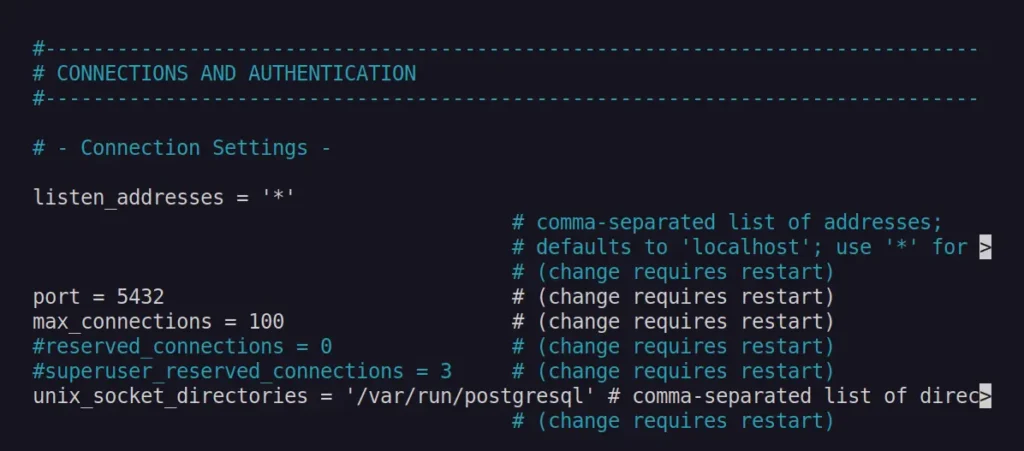
$ sudo nano /etc/postgresql/16/main/postgresql.confSearch for the following line, and uncomment it by removing the # prefix (if you are using Nano, use Ctrl+w to search).
listen_addresses = '*'Output:
Save and close the file, then edit pg_hba.conf to allow remote access.
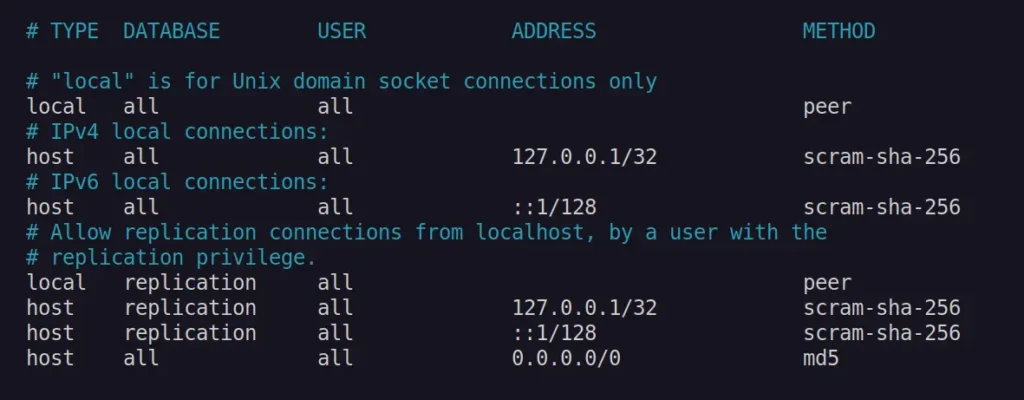
$ sudo nano /etc/postgresql/16/main/pg_hba.confAdd the following line at the end of the file to allow access from any IP address:
host all all 0.0.0.0/0 md5Output:
Save and close the file, then restart the PostgreSQL server to apply the changes.
$ sudo systemctl restart postgresqlOutput:

Remove PostgreSQL from Ubuntu
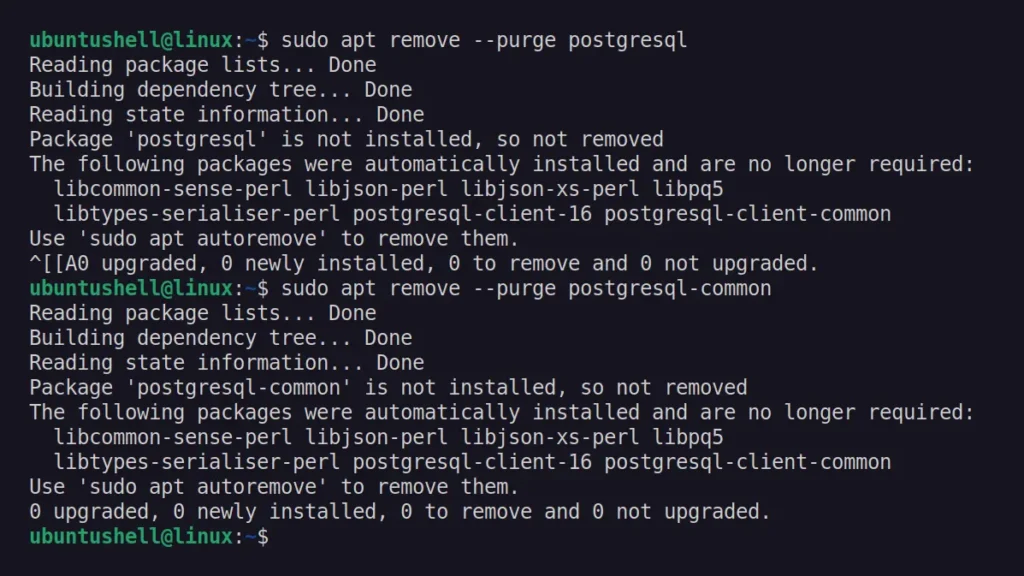
To remove PostgreSQL, simply execute the following command to remove the postgresql and postgresql-common packages.
$ sudo apt remove --purge postgresql
$ sudo apt remove --purge postgresql-common
During the removal process of the postgresql-common package, you receive a prompt asking you to "Remove PostgreSQL directories when package is purged?". Select Yes to permit.