In this article, you will learn how to install the Nginx web server (either stable or mainline) on Ubuntu 25.04, 24.04, and other versions using the default package manager, Launchpad PPA, official repository, and source file.
What is Nginx?
Nginx is a popular web server that allows you to serve files over the internet using HTTP/HTTPS protocols, offering unique features such as reverse proxy, load balancing, mail proxy, HTTP caching, web sockets, and more that make it stand out among its competitors.
Despite being six years younger than the Apache web server, Nginx is well-known among developers and sysadmins; many popular services use it by default, and even in our organization, Nginx handles and manages the core website and services.
It's a free, open-source, cross-platform tool that can be easily installed on Linux, Raspberry Pi, Windows, and macOS, and with a few tricks, it can work on your Android phone.
How to Install Nginx on Ubuntu 25.04 and Other
Prior to installation, you should be familiar with the Nginx stable and mainline versions:
stable: It's often an older version that is thoroughly tested in the real world and has critical bug fixed; it won't give you the latest features, but it's stable and recommended for use in production environments.mainline: It's like a beta version that offers the latest features (including experimental modules) and the fastest bug fixes, but there might be some stability issues. Therefore, we recommend against using the Nginx mainline version in a production environment.
Now that you know the difference between the Nginx stable and mainline versions, you can decide which one to install using any of the following methods (except the first method, which will only install the stable version).
Method 1: Install Nginx on Ubuntu Using Package Manager
Nginx is a popular package included in nearly all Linux distribution repositories, including Ubuntu 25.04, though the version provided is often older but still great for production use cases.
So, to install Nginx on Ubuntu using the package manager, open your terminal and execute the following command:
$ sudo apt install nginx-fullMethod 2: Install Nginx on Ubuntu Using Launchpad PPA
The official Nginx PPA is not being maintained for the time being; however, a user named Ondřej Surý is independently maintaining the PPA for Nginx stable and mainline.
The PPA is unofficial but includes all the necessary Nginx modules and provides support for amd64 (AMD/Intel), arm64/armhf (Raspberry Pi), and ppc64el (IBM POWER platform) devices.
1. Open your terminal and install the following package to manage your distribution and independent software vendor software sources.
$ sudo apt install software-properties-common2. Execute only one of the following commands to add either the Nginx stable or mainline PPA.
# Nginx Stable PPA
$ sudo add-apt-repository ppa:ondrej/nginx

# Nginx Mainline PPA
$ sudo add-apt-repository ppa:ondrej/nginx-mainline
3. Finally, update the package cache and install Nginx.
$ sudo apt update
$ sudo apt install nginx-full
This will install either the stable or mainline version of Nginx, depending on the PPA you've added. If you encounter any issues or bugs in the future, please report them here.
Method 3: Install Nginx on Ubuntu from Official Repository
This method is a bit tedious, involving adding the Nginx official repository for stable or mainline variants. While it generally won't cause any issues, there's a rare chance of encountering a repository error when upgrading your Ubuntu version (e.g., from 24.04 to 25.04).
If you have a basic understanding of Linux, it shouldn't be too troublesome, and it will function properly for Ubuntu 25.04, 24.10, 23.04, and 22.4. To start, simply follow the steps below in sequence.
1. Install the required dependencies:
$ sudo apt install curl gnupg2 ca-certificates lsb-release ubuntu-keyring2. Import the official Nginx signing key:
$ curl https://nginx.org/keys/nginx_signing.key | gpg --dearmor | sudo tee /usr/share/keyrings/nginx-archive-keyring.gpg >/dev/null3. Choose one of the commands below to set up the APT repository for either the stable or mainline Nginx package.
# Nginx Stable APT Repository
$ echo "deb [signed-by=/usr/share/keyrings/nginx-archive-keyring.gpg] http://nginx.org/packages/ubuntu $(lsb_release -cs) nginx" | sudo tee /etc/apt/sources.list.d/nginx.list

# Nginx Mainline APT Repository
$ echo "deb [signed-by=/usr/share/keyrings/nginx-archive-keyring.gpg] http://nginx.org/packages/mainline/ubuntu $(lsb_release -cs) nginx" | sudo tee /etc/apt/sources.list.d/nginx.list
4. Set up repository pinning to prioritize the Nginx package from the included APT repository over those provided by the distribution:
$ echo -e "Package: *\nPin: origin nginx.org\nPin: release o=nginx\nPin-Priority: 900\n" | sudo tee /etc/apt/preferences.d/99nginx5. Finally, update the package information and install Nginx.
$ sudo apt update
$ sudo apt install nginxMethod 4: Install Nginx on Ubuntu from Source File
This method for installing Nginx is one of the most complex among those previously mentioned. If you're considering following this method, we won't stop you but rather suggest checking out our dedicated article on installing Freenginx on Ubuntu from the source file.
It's almost identical to Nginx at the moment, but it's a fork by one of the core team developers after leaving the company, aiming to make Nginx more community-oriented rather than a corporate product. If you still persist and want to use Nginx, the same approach with Nginx's source files will do the job.
How to Configure and Manage Nginx on Ubuntu 23.04 and Other
Once the Nginx web server is installed, you can verify its version using one of the following commands:
$ nginx -vOutput:

Depending on your installation method, run one of the following commands to test Nginx configuration settings and syntax.
# Use this when Nginx is installed via a Package Manager or Launchpad PPA.
$ nginx -t

# Use this when Nginx is installed via APT Repository or Source file.
$ sudo nginx -t
Output:

In the future, if you wish to edit the Nginx configuration file, you'll locate it at "/etc/nginx/nginx.conf", while the virtual host configuration file resides either at "/etc/nginx/sites-available/default" (when installed via package manager or Launchpad PPA) or "/etc/nginx/conf.d/default.conf" (when installed via APT repository or source file).
The Nginx service on Ubuntu is handled by Systemd, so if you modify any Nginx configuration, make sure to use one of the appropriate commands to reflect the changes.
# Reload the Nginx with minor configuration changes without downtime.
$ sudo systemctl reload nginx

# Restart the Nginx with major configuration change with few second downtime.
$ sudo systemctl restart nginx
To start and stop the Nginx, use one of the appropriate commands:
# Start the Nginx service.
$ sudo systemctl start nginx

# Stop the Nginx service.
$ sudo systemctl stop nginx
Check the status to see if auto-start is enabled for Nginx by executing the following command:
# Check the status of Nginx
$ sudo systemctl status nginx

# Return enable (which means Nginx will auto-start on the next boot) or disable.
$ sudo systemctl is-enabled nginx
If your Nginx is set to disable, make sure to enable it using the following command:
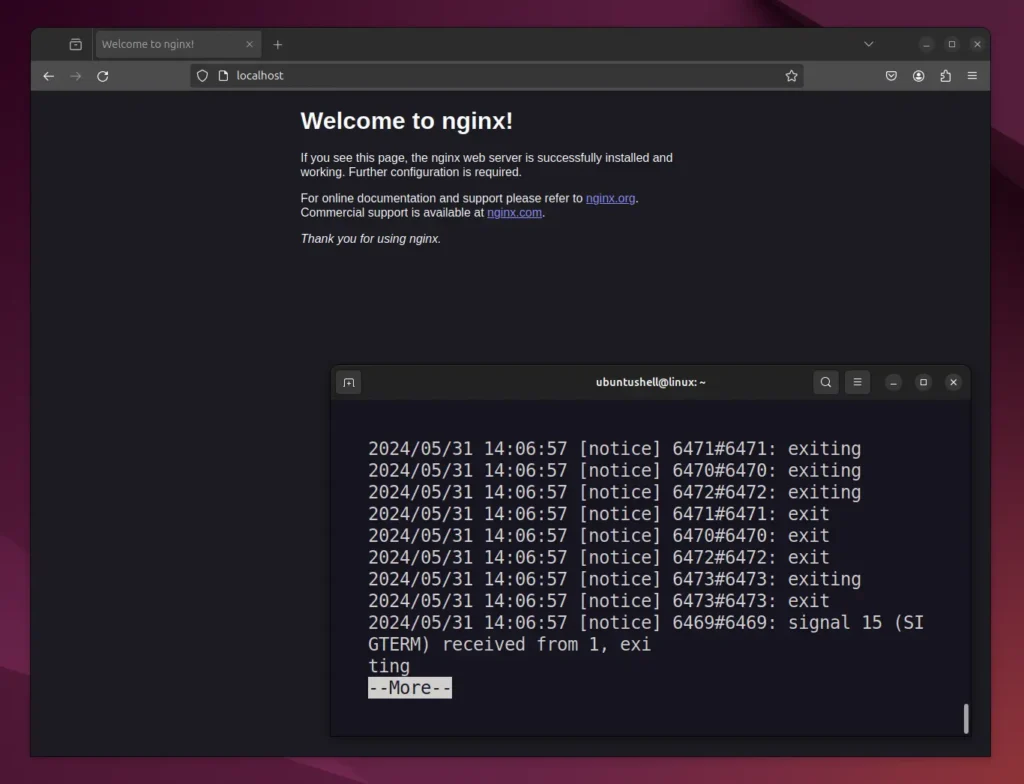
$ sudo systemctl enable nginxFinally, To access your Nginx web server, ensure the service is running, then navigate to "http://localhost" in your browser. If encountering errors, attempt to restart the service or read the Nginx error file at "/var/log/nginx/error.log" using the cat command.
How to Remove Nginx from Ubuntu 25.04 and Other
To remove Nginx installed from package manager, Launchpad PPA, or APT repository, run:
$ sudo apt remove --purge nginx-*If you've installed it from Launchpad PPA, ensure to remove the added PPA.
# Remove Nginx Stable PPA
$ sudo add-apt-repository --remove ppa:ondrej/nginx

# Remove Nginx Mainline PPA
$ sudo add-apt-repository --remove ppa:ondrej/nginx-mainline
And, to remove the official repository, simply delete the sources and key files:
$ sudo rm /usr/share/keyrings/nginx-archive-keyring.gpg /etc/apt/sources.list.d/nginx.listFinally, run sudo apt update to refresh the system package cache.


