Freenginx gained a lot of attention after NGINX's core developer quit the company due to internal conflict and policy changes to initiate his own Freenginx project, a free and open-source version prioritizing community contributions over company interests.
Currently, it's new, and you can barely find any difference in usage, but there is hope for fast improvements, fixes, and the introduction of exciting features in the future.
If you want to give it a try, then read this entire article to learn how to install Freenginx on Ubuntu from source with practical examples.
How to Install Freenginx on Ubuntu
As of writing this article, the only available option to install Freenginx is via source code for Linux; for Windows users, the compressed file can be found in the download section.
In this article, we will focus on installing Freenginx on Ubuntu, so follow each step mentioned below one by one.
1. Open your terminal and execute the following command to update the system repository information:
- sudo apt update
2. Install the required packages, dependencies, and libraries, along with the development tool for source code compilation.
- sudo apt install -y wget build-essential libpcre3 libpcre3-dev zlib1g zlib1g-dev libssl-dev libgd-dev libxml2 libxml2-dev uuid-dev
3. Stop and remove the existing NGINX from your system to avoid potential conflict issues later.
- sudo apt --purge remove nginx-*
- sudo apt autoremove
4. Now, visit the official Freenginx download page and download the source tarball file for the Freenginx version (mainline, stable, or legacy) you wish to install.
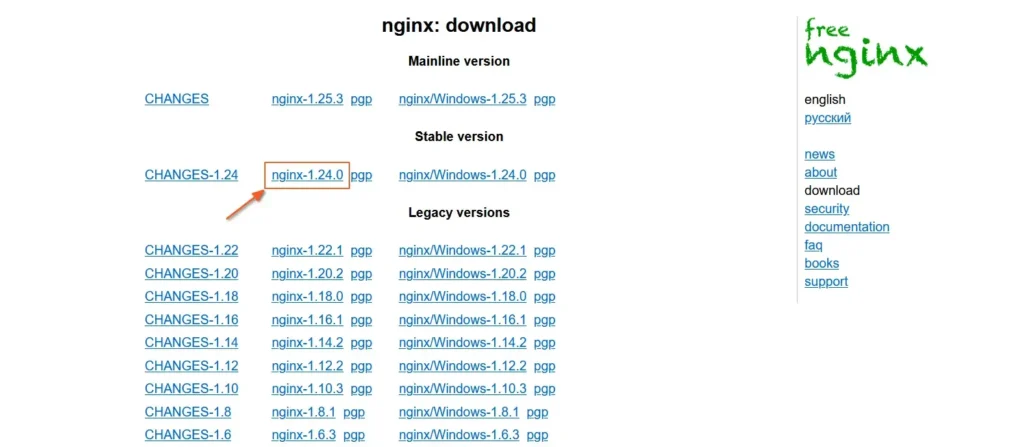
Alternatively, you can also download it from your terminal via the wget command.
- wget https://freenginx.org/download/nginx-1.24.0.tar.gz
Output:

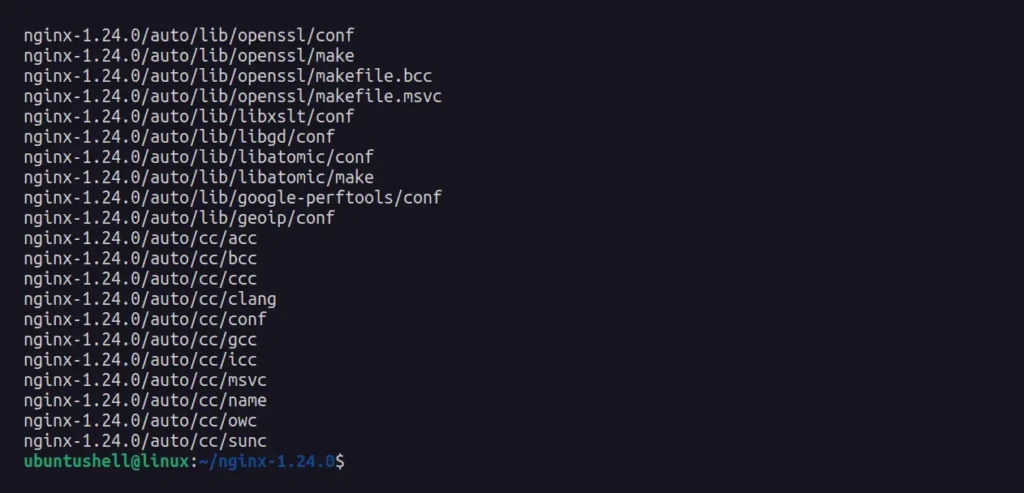
5. Extract the downloaded tarball file and then move it into the extracted directory.
- tar -zxvf nginx-*.tar.gz && cd nginx*/
Output:
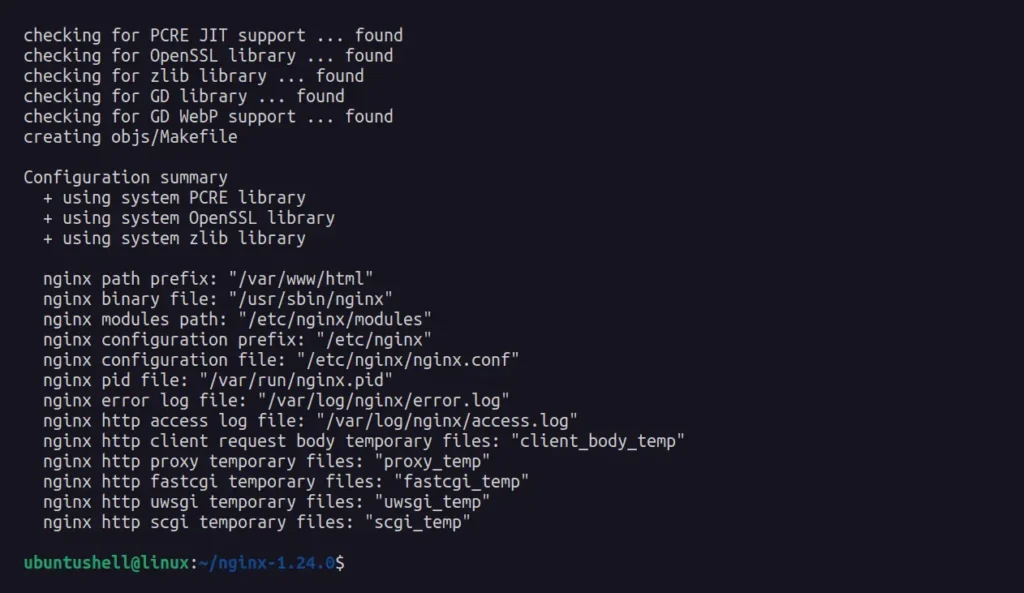
6. Configure the custom path for the NGINX configuration file, access, and error log path with some NGINX modules using configure flags.
- ./configure --prefix=/var/www/html --sbin-path=/usr/sbin/nginx --conf-path=/etc/nginx/nginx.conf --http-log-path=/var/log/nginx/access.log --error-log-path=/var/log/nginx/error.log --with-pcre --lock-path=/var/lock/nginx.lock --pid-path=/var/run/nginx.pid --with-http_ssl_module --with-http_image_filter_module=dynamic --modules-path=/etc/nginx/modules --with-http_v2_module --with-stream=dynamic --with-http_addition_module --with-http_mp4_module
Output:
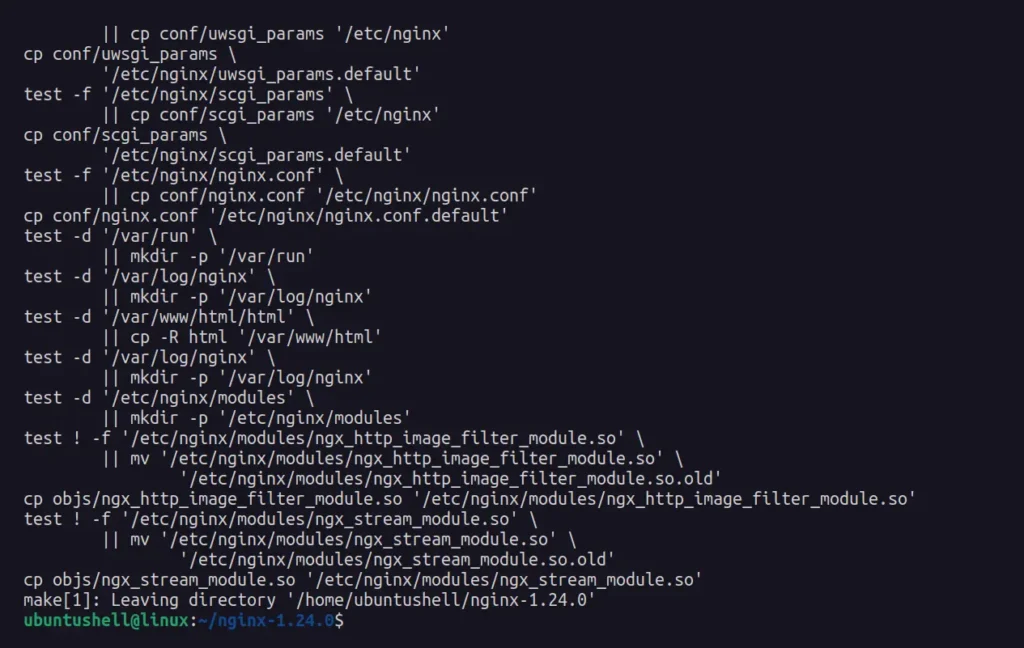
7. Once the custom configuration is completed, proceed to compile the NGINX source code and install it using the following two commands:
- make
- sudo make install
Output:
8. Freenginx is now successfully installed; you can check its version and configure options.
- nginx -v
- OR
- nginx -V
Output:

9. Now, stop the nginx if it's already running, and then create a Freenginx systemd unit file at /lib/systemd/system path for managing Freenginx.
- nginx -s stop
- sudo vi /lib/systemd/system/nginx.service
And then paste this script:
[Unit]
Description=The Freenginx HTTP and reverse proxy server
After=syslog.target network-online.target remote-fs.target nss-lookup.target
Wants=network-online.target

[Service]
Type=forking
PIDFile=/var/run/nginx.pid
ExecStartPre=/usr/sbin/nginx -t
ExecStart=/usr/sbin/nginx
ExecReload=/usr/sbin/nginx -s reload
ExecStop=/bin/kill -s QUIT $MAINPID
PrivateTmp=true

[Install]
WantedBy=multi-user.target
Now, save the file by first pressing Esc to exit the editing mode, then type : followed by writing and executing the wq! command.
10. That's it! You can now manage Freenginx using the systemctl command, with the following examples of systemctl commands available for managing Freenginx:
| Command | Description |
|---|---|
sudo systemctl status nginx | Check the status of Freenginx. |
sudo systemctl enable nginx | Autostart the Freenginx at boot. |
sudo systemctl start nginx | Start the Freenginx server. |
sudo systemctl stop nginx | Stop the Freenginx server. |
sudo systemctl disable nginx | Disable autostart for Freenginx at boot. |
