Pydio Cells (formerly known as Pydio) is an open-source cloud-based document sharing and collaboration application platform that can be self-hosted in your existing IT infrastructure.
It provides full control of data, huge file transfers, real-time collaboration, synchronization, performance, scalability, and a seamless automation workflow, making it a great replacement for some popular SaaS solutions.
It also comes with standalone client applications for desktop devices like Windows, macOS, and Linux, as well as mobile devices such as Android and iOS, allowing you to access your data (on Pydio) from anywhere.
In this article, I'll show you a simple and easy-to-follow method to install, configure, and run Pydio Cells with a MariaDB database on Ubuntu 25.04, 24.04, and other previous versions.
Prerequisite
Before you begin, make sure you meet the following system requirements:
- A system running Ubuntu (server).
- It must have at least 4 GB of RAM, 20 GB of disk space, and 2 CPU cores.
- A root user account or an account with sudo privileges.
If you plan to set it up on your IT infrastructure, you will need a domain name with an internet IP address. As a beginner, you can first host it on localhost using this guide, then replicate the steps on your server.
Step 1: Install Required Dependencies
Before you begin, ensure you update your system package list and outdated packages to the latest version using the following command:
$ sudo apt update && sudo apt upgradeNext, install the required packages to set up Pydio Cells, which include Wget, Apache, MariaDB database server, and a few dependencies.
$ sudo apt install wget apache2 mariadb-server certbot python3-certbot-apache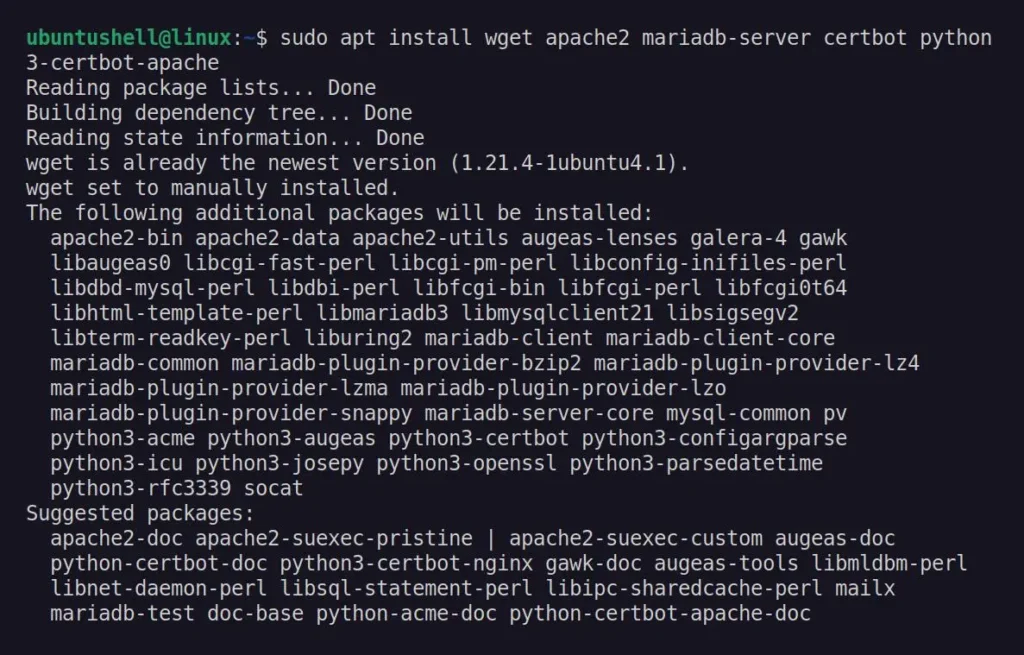
Once the installation is complete, you can configure the MariaDB database server for Pydio Cells by following the next step.
Step 2: Configure MariaDB Database Server
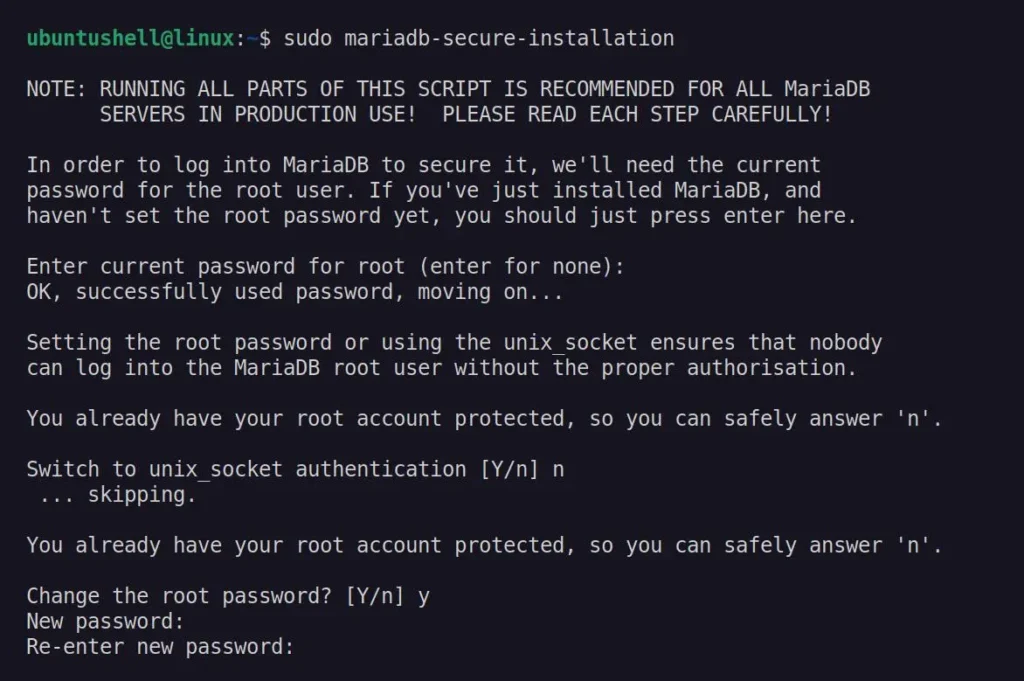
To set up the MariaDB database server, you must run the following command, which will guide you through multiple steps, from setting the MariaDB root account password to configuring the database for enhanced security.
$ sudo mariadb-secure-installationOnce the above command is executed, you will be prompted to provide input for a few options, which include:
- Switch to unix_socket authentication? Input "n".
- Change the root password? Input "y" to confirm, then provide a new password for the MariaDB root account.
- Remove anonymous user? Input "y" to confirm.
- Remove the default database test from the deployment? Input "y" to confirm.
- Disallow MariaDB root login from remote connections? Input "y" to confirm.
- Reload table privileges and apply the changes? Input "y" to confirm.
Once done, access the MariaDB console with the following command:
$ sudo mariadb -u root -pIt will prompt you to enter the password you set up during the MariaDB server configuration. After logging in, create a database for Pydio Cells to store its data and initialize its structures using the following commands:
📝 Note
If you're performing this steps in a production environment, make sure to change the password highlighted in red, and for enhanced security, consider changing the database and username as well.
> CREATE DATABASE cellsdb;
> CREATE USER cells@localhost IDENTIFIED BY 'password';
> GRANT ALL PRIVILEGES ON cellsdb.* TO cells@localhost;
> FLUSH PRIVILEGES;
> EXIT;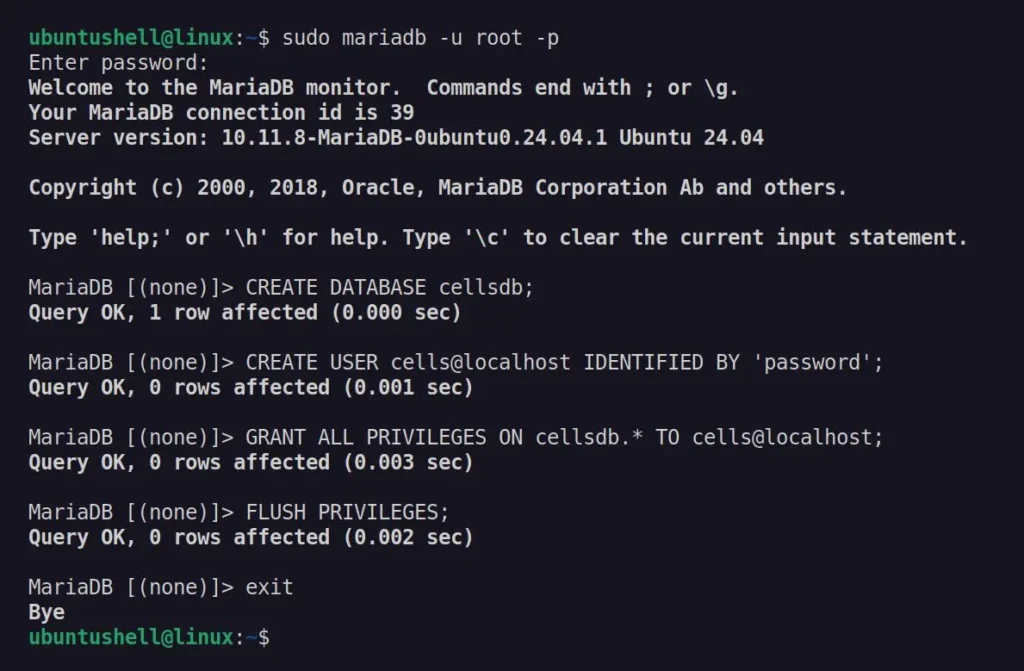
Step 3: Install Pydio Cells
Since the required dependencies are installed and the database for Pydio Cells is configured, it's time to create a new (sudo-less) user account for Pydio Cells, set up some environment variables for it, and then download and install Pydio Cells.
First, create a new pydio user using this command:
$ sudo useradd -m -s /bin/bash pydioNext, run the following command to create a new directory at "/opt/pydio/bin" and "/var/cells", and change their ownership to the Pydio user.
$ sudo mkdir -p /opt/pydio/bin /var/cells
$ sudo chown -R pydio: /opt/pydio /var/cells
Now, create a new system-wide environment file "/etc/profile.d/cells-env.sh", and give it executable permission.
$ sudo tee -a /etc/profile.d/cells-env.sh << EOF
export CELLS_WORKING_DIR=/var/cells
EOF
$ sudo chmod 0755 /etc/profile.d/cells-env.sh
Next, log in as the Pydio user and confirm that the environment file is loaded and the environment variables it contains are accessible.
$ sudo su - pydio
$ echo $CELLS_WORKING_DIR
Finally, set an environment variable, and then download and install the Pydio binary file in the "/opt/pydio/bin/cells" directory.
$ distribId=cells
$ wget -O /opt/pydio/bin/cells https://download.pydio.com/latest/${distribId}/release/{latest}/linux-amd64/${distribId}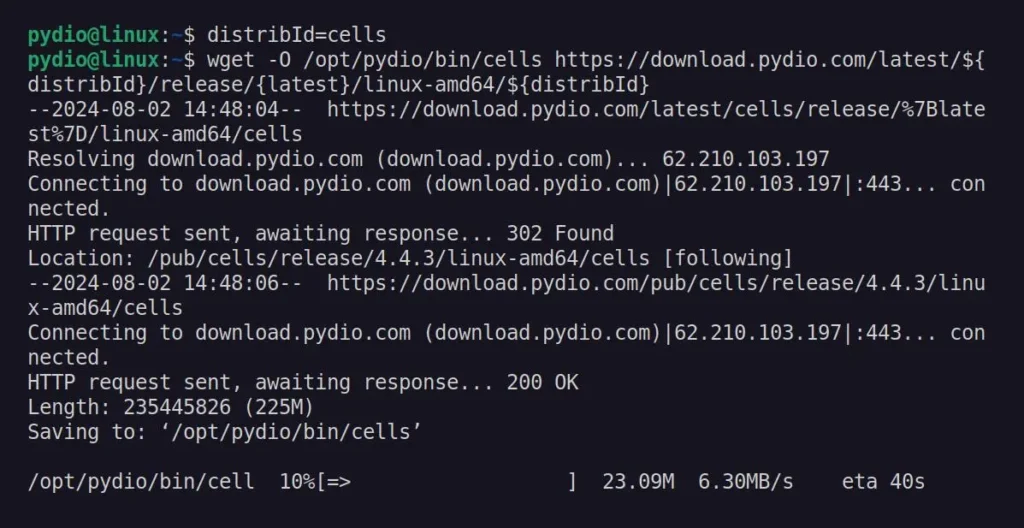
Once the download process is complete, ensure that you grant executable permission to the Pydio binary file, and then you can exit the Pydio user.
$ chmod a+x /opt/pydio/bin/cells
$ exit
Now, ensure that the Pydio binary file is allowed to use the default HTTP ports, and then create a symlink to make the cells command accessible system-wide.
$ sudo setcap 'cap_net_bind_service=+ep' /opt/pydio/bin/cells
$ sudo ln -s /opt/pydio/bin/cells /usr/local/bin/cells
Next, log in as the Pydio user and verify the loading of the environment file and the accessibility of its environment variables.
$ sudo su - pydio
$ cells version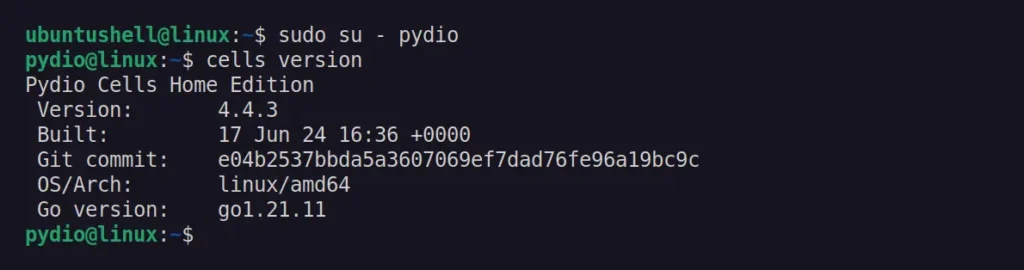
Step 4: Setting Up Pydio Cells
Since Pydio Cells is installed, you need to perform one final step: configuring Pydio Cells with the MariaDB database server. This step can be done either through the web interface (GUI) or via the CLI; for demonstration, we will perform it using the web interface.
To do so, open your terminal, ensure you are logged in as the Pydio user, and then run the following command to configure Pydio Cells.
$ cells configureIt will prompt you to choose the installation mode; for this tutorial, select the "Browser-based" option.
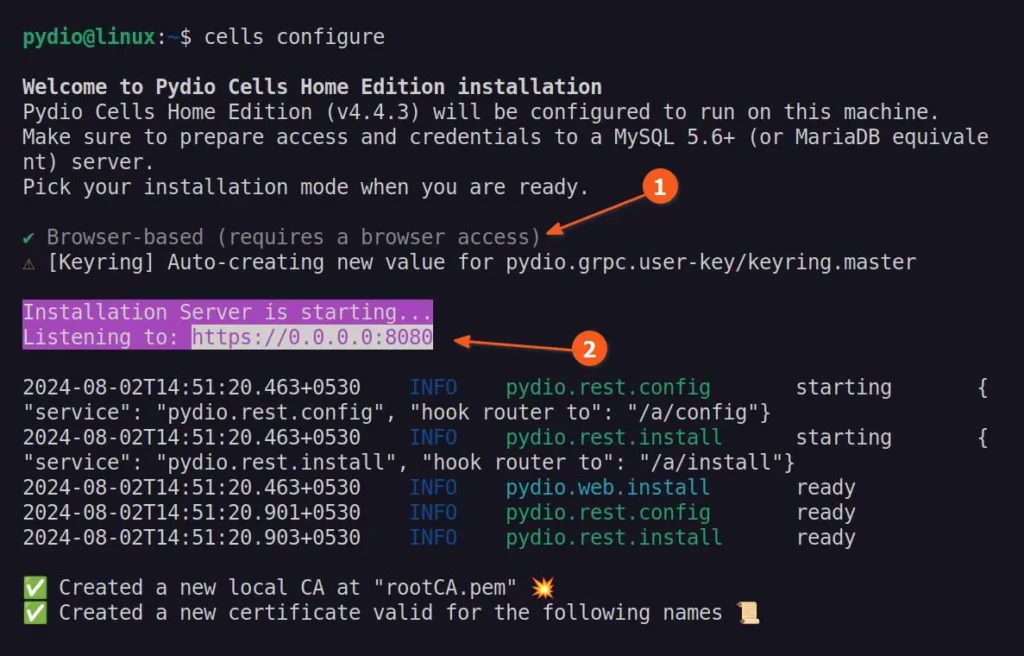
Then open a browser on your system and enter either localhost or the IP address followed by port 8080 to access the Pydio Cells configuration wizard.
https://localhost:8080

# OR

https://server-ip:8080
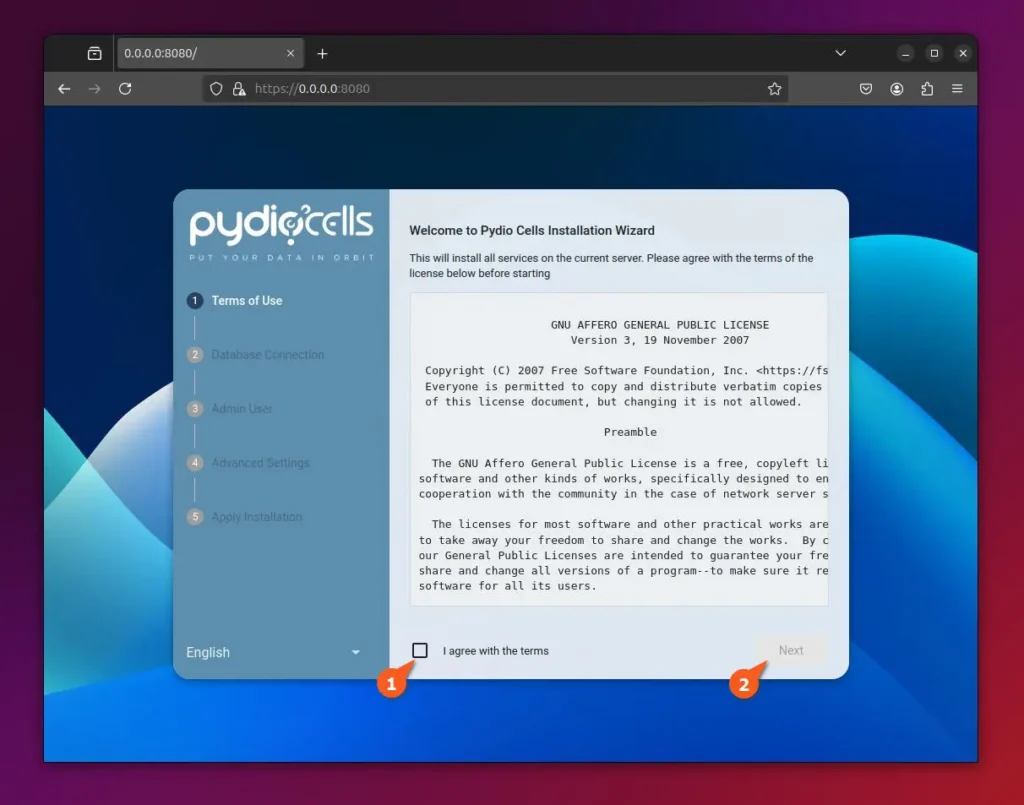
If you access it on localhost, you might see a "Your connection is not private" warning. Simply ignore it and proceed to the Pydio Cells configuration, where you'll need to accept the license agreement first and then click "Next".
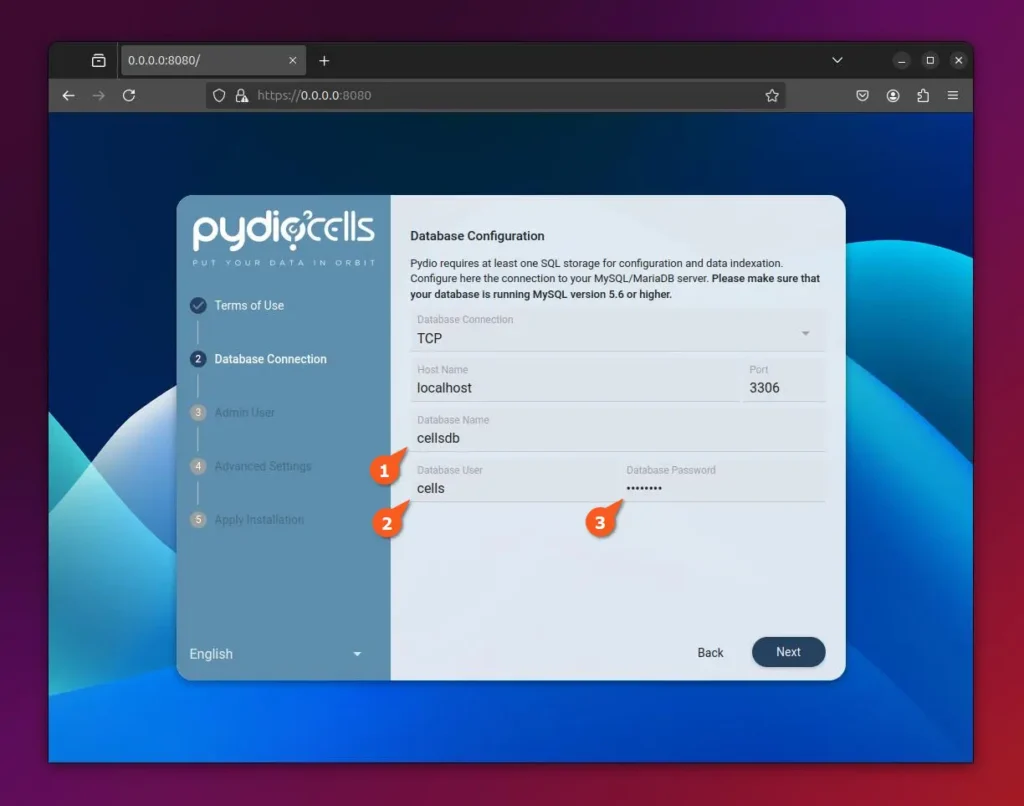
In the "Database Connection" section, input the correct database name, user, and password you used while creating the Pydio Cells database.
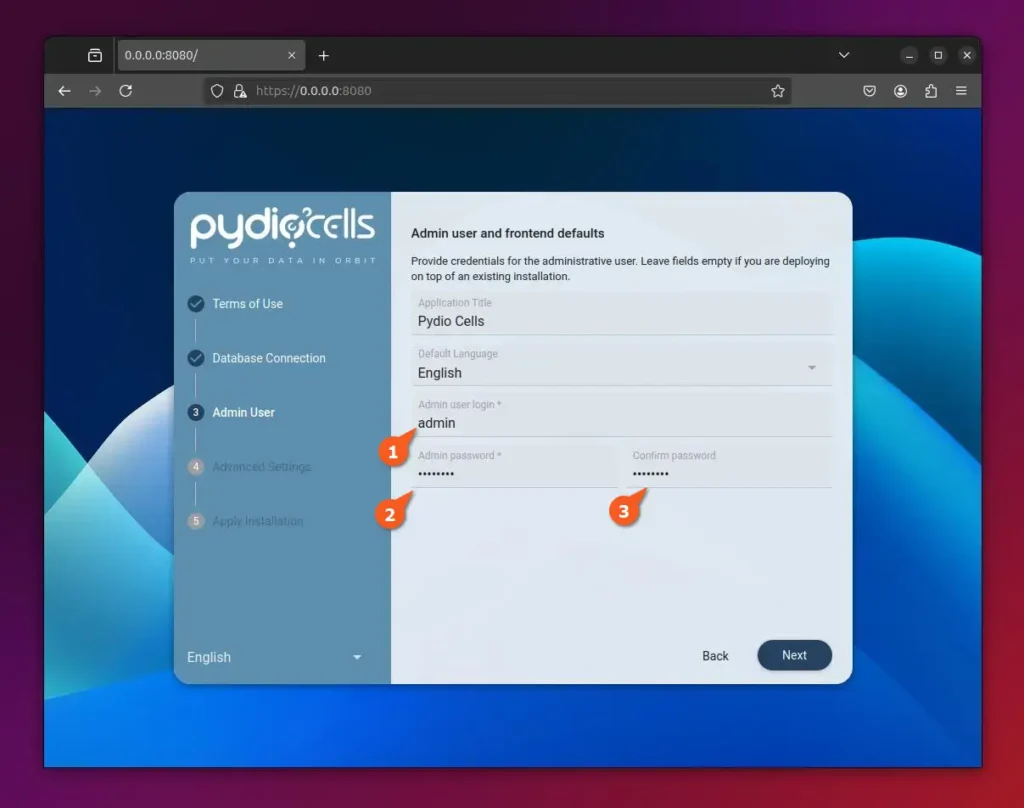
In this step, create an admin user with a secure password for logging into the Pydio Cells web interface.
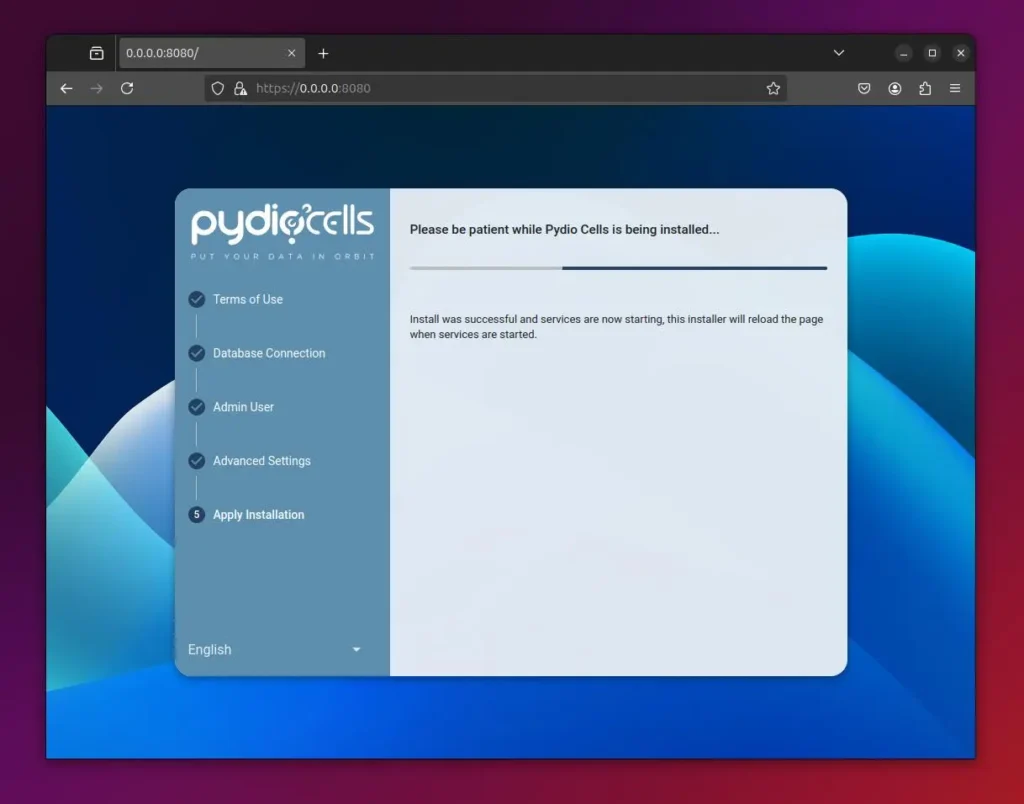
Finally, click "Install Now" to finish the installation.

Wait a moment during the installation of Pydio Cells.
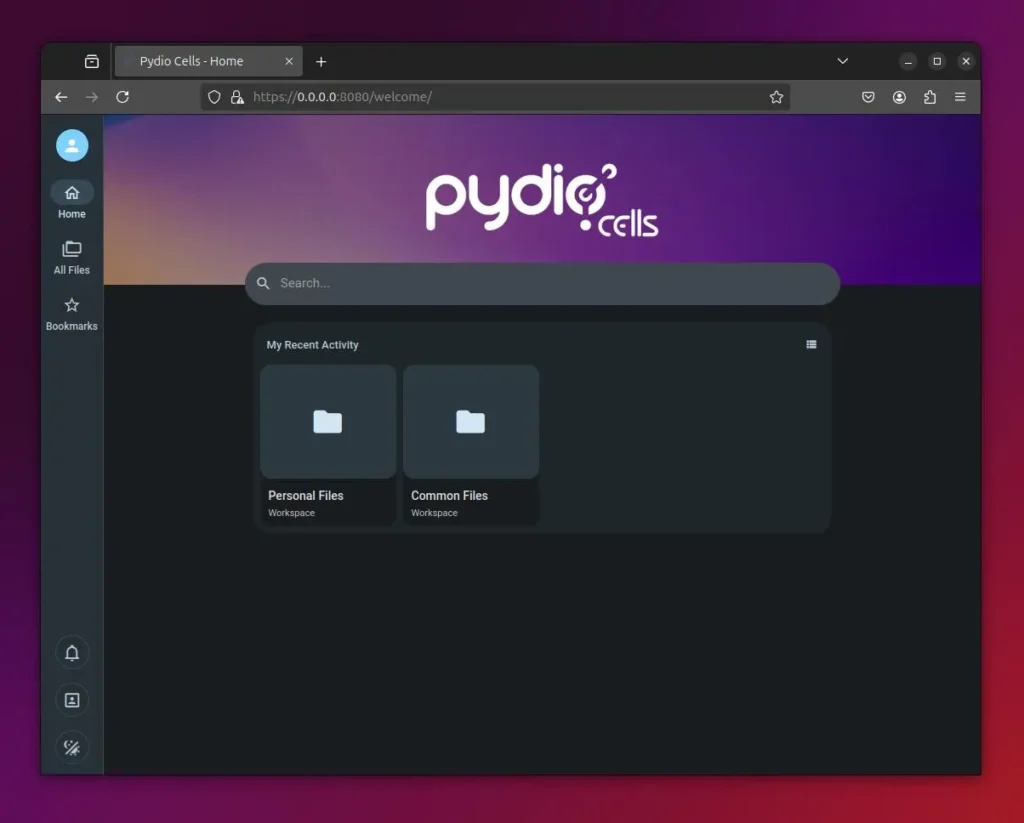
Finally, login with your admin credentials and click "Enter".

You'll now be redirected to the Pydio Cells dashboard, where a quick tour will be offered if you're new; otherwise, feel free to explore it on your own.
Step 5: Create a Systemd Service File for Pydio Cells
To streamline the management of Pydio Cells, such as auto-launching on system boot or easily starting, stopping, or restarting the service, you can create a systemd service. So, to begin, open your terminal and create a configuration file using the following command:
$ sudo vim /etc/systemd/system/cells.serviceAdd the following line of codes:
[Unit]
Description=Pydio Cells
Documentation=https://pydio.com
Wants=network-online.target
After=network-online.target
AssertFileIsExecutable=/opt/pydio/bin/cells

[Service]
User=pydio
Group=pydio
PermissionsStartOnly=true
AmbientCapabilities=CAP_NET_BIND_SERVICE
ExecStart=/opt/pydio/bin/cells start
Restart=on-failure
StandardOutput=journal
StandardError=inherit
LimitNOFILE=65536
TimeoutStopSec=5
KillSignal=INT
SendSIGKILL=yes
SuccessExitStatus=0
WorkingDirectory=/home/pydio

# Add environment variables
Environment=CELLS_WORKING_DIR=/var/cells

[Install]
WantedBy=multi-user.target
When finished, save and close the file, then restart the systemd daemon, and enable and start the Pydio Cells service.
$ sudo systemctl daemon-reload
$ sudo systemctl enable --now cells
To confirm that the service is active and running, execute this command:
$ systemctl status cells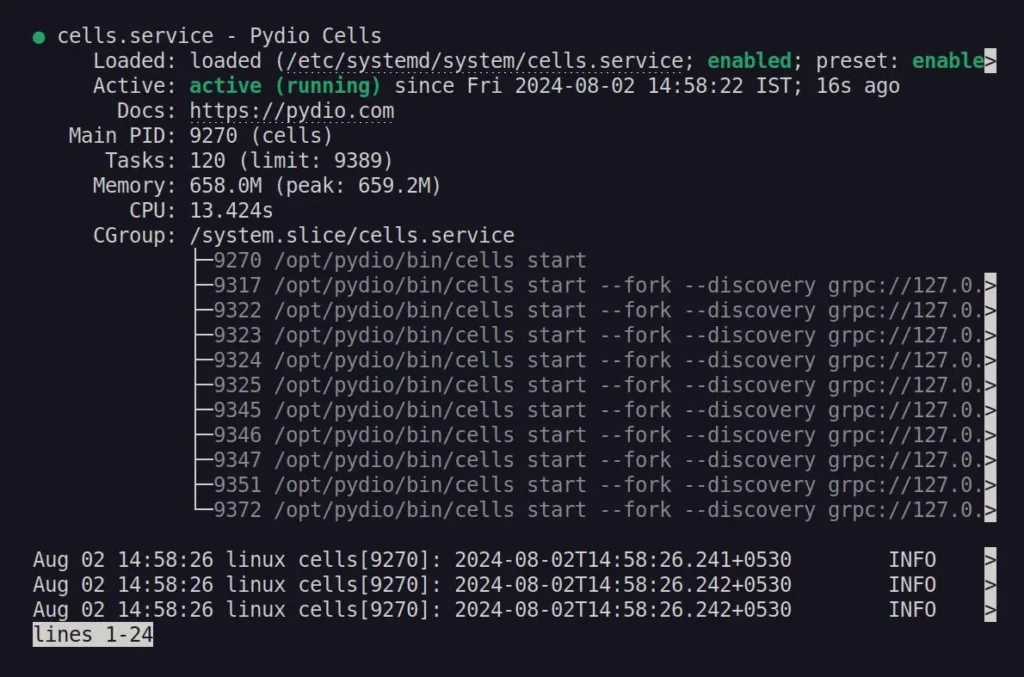
That's it; you can now use the following commands to manage your Pydio Cells service:
# Start the Pydio Cells service
$ sudo systemctl start cells

# Stop the Pydio Cells service
$ sudo systemctl stop cells

# Restart the Pydio Cells service
$ sudo systemctl restart cells

# Disable the Pydio Cells service autolaunch during system boot
$ sudo systemctl disable cells

# Allow the Pydio Cells service to autolaunch on system boot
$ sudo systemctl enable cells
Wrap Up
In this detailed article, you learned how to install, configure, and run Pydio Cells on an Ubuntu system. If you encounter any issues while following this tutorial, please let us know in the comment section.


