At some point in your Python programming journey, you'll encounter an old Python program that requires an older version of Python (let's say, 3.5), but the distros you're using ship a newer version (let's say, 3.12).
In such scenarios, one might consider removing the current version of Python and installing the required version (referring to 3.5) from the source code. While this will work, don't you think it's more effort than necessary?
Today, I'll introduce you to a new tool named Pyenv that will make your life easier by allowing you to easily install, use, and manage multiple Python versions on Ubuntu without conflicting with each other.
Install Pyenv on Ubuntu
Prior to installation, make sure you install the required dependencies to allow Pyenv to seamlessly build and install different versions of Python from the source.
$ sudo apt install make build-essential libssl-dev zlib1g-dev libbz2-dev libreadline-dev libsqlite3-dev wget curl llvm libncurses5-dev libncursesw5-dev xz-utils tk-dev libffi-dev liblzma-dev python3-opensslNext, install Pyenv on your Ubuntu system using the official script:
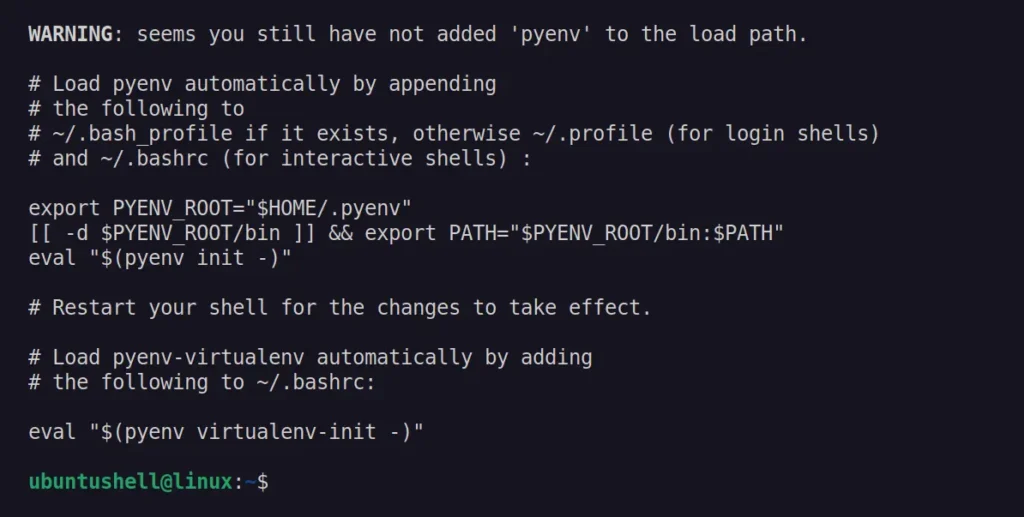
$ curl https://pyenv.run | bashThe script will take a few seconds to download and install Pyenv, and when it is finished, it will provide the following snippet to add to your shell configuration file for Pyenv loading.

So, to add this snippet, edit the ~/.bashrc file (used by Bash) with your preferred text editor and add the following line at the end.
export PYENV_ROOT="$HOME/.pyenv"
[[ -d $PYENV_ROOT/bin ]] && export PATH="$PYENV_ROOT/bin:$PATH"
eval "$(pyenv init -)"
Save and close the file, then reload the changes to the shell configuration by running:
$ source ~/.bashrcFinally, check the version of Pyenv to verify its successful installation.
$ pyenv -vOutput:

Install Multiple Python Versions Using Pyenv
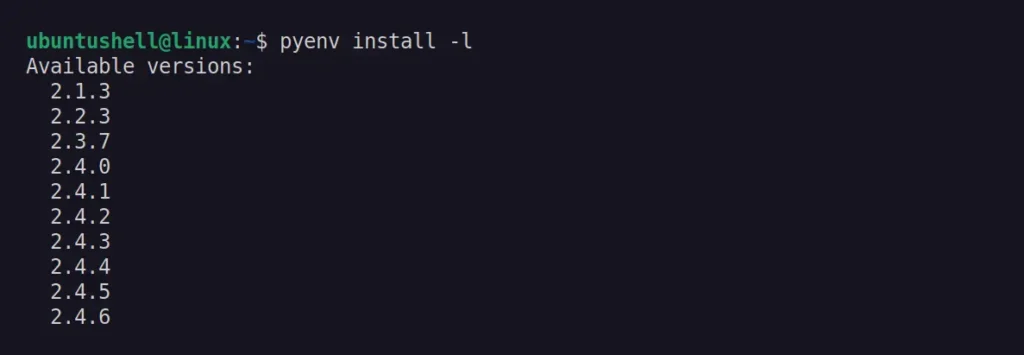
First, we will list every Python version from 2.1.3 onward, including virtual environments like Anaconda, Cinder, Jython, Miniconda, etc.
$ pyenv install -lOutput:

The returned output could be huge, so you can pipe the grep command with it to filter out data for a specific match.
# It will return all Python 3.1.X versions.
$ pyenv install --list | grep " 3.1"

# It will return all the Python 3 dev versions.
$ pyenv install --list | grep " 3.*-dev"

# It will return all the Python version between 3.5.X to 3.9.X.
$ pyenv install --list | grep " 3\.[56789]"
Right now, I have Python 3.12 installed via the package manager, so now I aim to install Python 3.5.10. To achieve this, we can use the following pyenv command, specifying the desired Python version for installation:
$ pyenv install 3.5.10Output:

The installation command will begin downloading the specified Python version source file, compile it, and then install it. This process might take some time, but if you encounter any errors, try installing a different Python series of the same version.
Manage Multiple Python Versions Using Pyenv
The different Python versions installed using Pyenv are located at the ~/.pyenv/versions/ path.
$ ls ~/.pyenv/versions/Output:

It could assist in identifying the various Python versions installed on your system, but I recommend using the following command to list installed Python versions (either by package manager or Pyenv).
$ pyenv versionsOutput:

The first entry in the above output indicates the Python version installed by the package manager (it's, 3.12.3), where the * asterisk signifies that it's presently set as default.
To switch from the default Python version to the newly installed Python version, run:
$ pyenv global 3.5.10Output:

If you run any Python program using the python command, it will be executed using the default Python version (which is now, 3.5.10).

In the future, if you want to switch back to your previous Python version, run this.
$ pyenv global systemOutput:

Finally, to remove your installed Python version, you can specify its version in the command below:
📝 Note
Despite using the Pyenv command, you can remove it by deleting its directory from "~/.pyenv/versions/<python-directory>".
$ pyenv uninstall 3.5.10Create Virtual Environment Using Pyenv
The virtual environment could be useful for managing multiple Python projects with different Python versions and packages. The Python package inside the virtual environment won't interfere with your host Python installation.
So, to create a new virtual environment (named "myproj") using the Python 3.5.10 version installed via Pyenv, run this command.
$ pyenv virtualenv 3.5.10 myprojOutput:

Switch to the virtual environment.
$ pyenv local myprojOutput:

To confirm you're in a virtual environment, check the Python and Pip versions, as well as the Python program directory.
$ python --version
$ pip --version
$ pyenv which python
Output:

You can now use this virtual environment for your Python project and ensure to use the pip command instead of the package manager, which will install the Python package using a different Python version.
To later remove the virtual environment, ensure you're outside it by quitting the terminal session and reopening it, then use the command below to list all virtual environments.
$ pyenv virtualenvsThen delete your desired virtual environment by specifying its name as:
$ pyenv virtualenv-delete myprojOutput:

Uninstall Pyenv from Ubuntu
Pyenv was installed via a shell script, which downloads and places files in the "~/.pyenv" directory, which you can remove using the following command:
$ rm -rf ~/.pyenvThen make sure to remove the following lines from your shell configuration file (in our case, it's "~/.bashrc"):
export PYENV_ROOT="$HOME/.pyenv"
[[ -d $PYENV_ROOT/bin ]] && export PATH="$PYENV_ROOT/bin:$PATH"
eval "$(pyenv init -)"
Save and close the file; restart the terminal session using the source ~/.bashrc command.
Wrap Up
All the examples mentioned in this article were performed on the latest Ubuntu 24.04 version; they will work with other versions, such as Ubuntu 23.04 and 22.04, including Linux distributions such as Debian, Linux Mint, Fedora, Red Hat, Alma Linux, Arch, and Manjaro.


