
Java is one of the most popular programming languages that has been used for a decade in different applications, IoT devices, embedded systems, big data, AI/ML, and more.
Its syntax is a bit complex to understand, but it is considered a good choice for DSA; even if you are a security researcher, you might have heard of Burpsuite, which is powered by Java.
If you are planning to start your programming journey in Java or have encountered an application that requires a specific version of Java, then you have come to the right place.
In this guide, I'll show you how to install Java on Ubuntu 24.04, which also works for Ubuntu 23.04 and other versions, including steps to install different versions of Java and switch between installed Java versions.
Install Java Using Package Manager
The popular Java versions, such as 8, 11, 17, and 21, are available in the Ubuntu repository. To verify, you can execute the command below to list all the Java versions in your Ubuntu repository.
$ apt search openjdk | grep -E 'openjdk-.*-jdk/'Output:
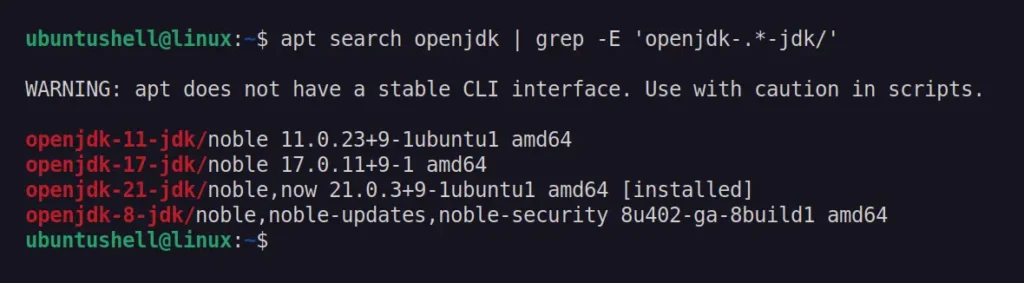
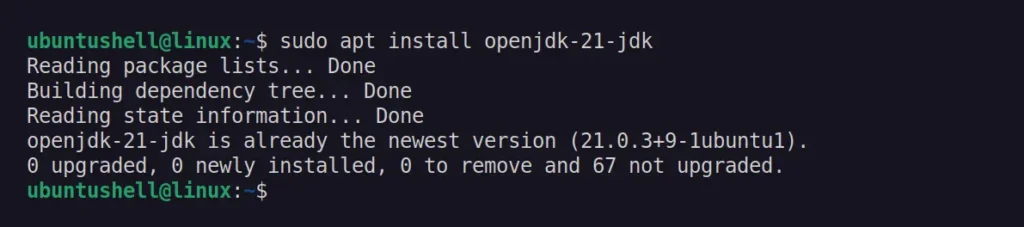
Now let's say you want to install Java 21 on your Ubuntu system, run.
$ sudo apt install openjdk-21-jdkOutput:
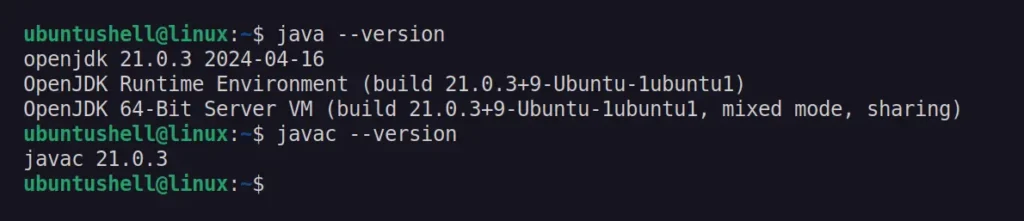
To verify that Java is successfully installed on your system, run.
$ java --version
$ javac --version
Output:
This way, you can install the other version of Java by using the respective commands:
# Java JDK Version 21
$ sudo apt install openjdk-21-jdk

# Java JDK Version 17
$ sudo apt install openjdk-17-jdk

# Java JDK Version 11
$ sudo apt install openjdk-11-jdk

# Java JDK Version 8
$ sudo apt install openjdk-8-jdk
If you look at the installation command, you will notice the package name is not Java but OpenJDK (more specifically, it's JDK). The JDK (a.k.a. Java development kit) package is a collection of different Java application development tools, such as JRE (Java runtime environment) and JVM (Java virtual machine), that are used while writing, compiling, and building the Java application or applets.
The different JDK packages represent the support of different Java versions; in our case, we installed JDK 21, which supports Java 21. If any Java application is already written in Java 8 or 11, then you should have to use the JDK version appropriate to that program.
Install Java Using Distribution Package
The official Oracle site offers Java packages for various versions and Linux distributions in their respective formats. To install Java 22, visit the Oracle download page and download the appropriate Java DEB package for Debian/Ubuntu systems.
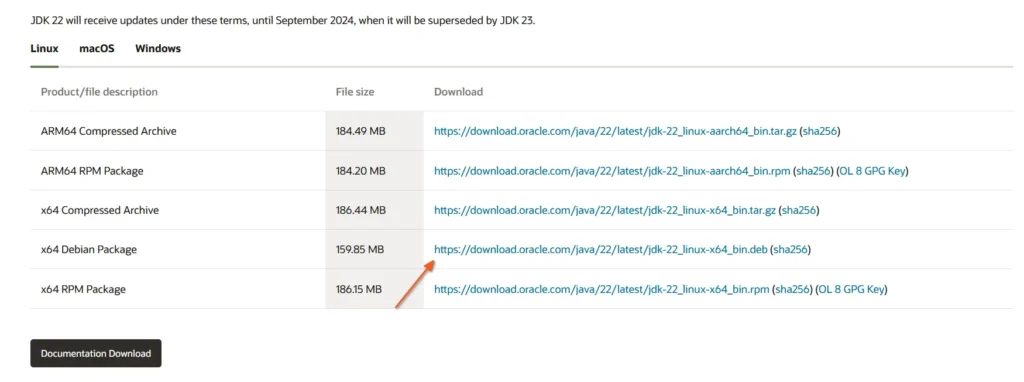
Besides downloading the Java DEB package from the website, you can use the following wget command to directly download it from your terminal.
$ wget https://download.oracle.com/java/22/latest/jdk-22_linux-x64_bin.debOutput:
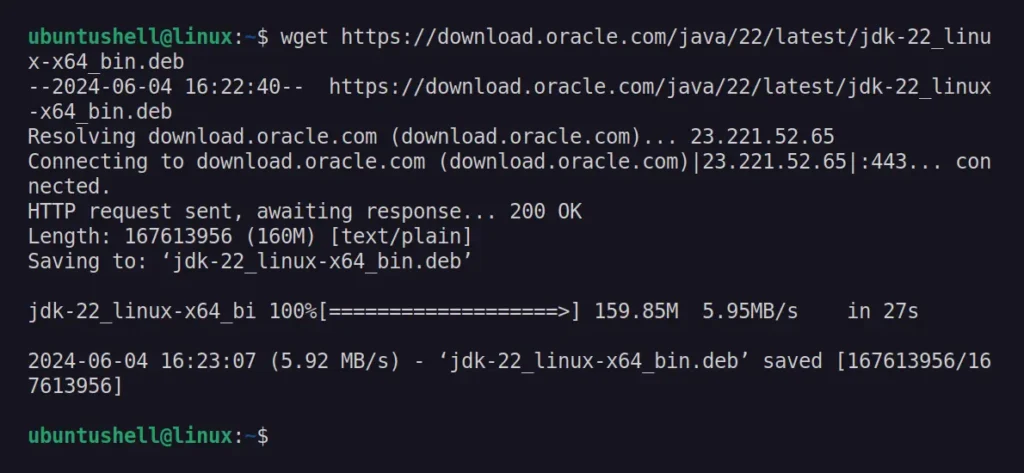
Once the download is complete, make sure you are in the same directory as your Java DEB package and execute the following command to start the installation.
$ sudo dpkg -i jdk-*_linux-x64_bin.debOutput:
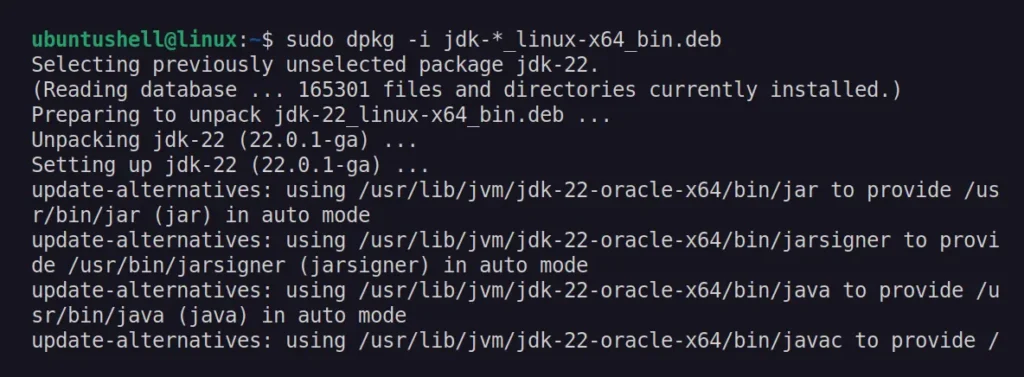
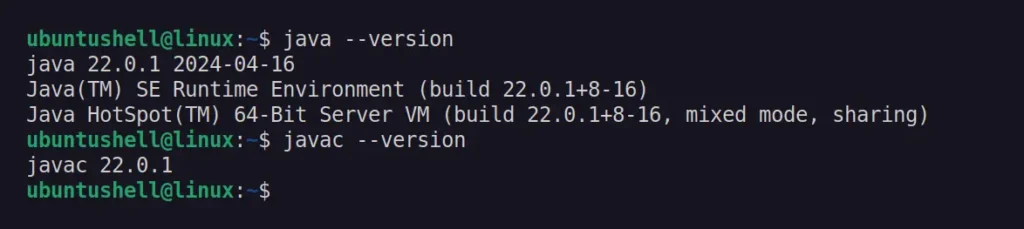
Once the installation is complete, you can verify the installed version using this.
$ java --version
$ javac --version
Output:
Manage Multiple Java Versions on Ubuntu
Having different Java versions is quite common these days, as many applications and devices require the use of different versions. So, let's say you have installed two different Java versions, such as 17 and 21, using the package manager method.
If you're unsure about the number of Java versions installed on your system, you can use this command to list them all:
$ update-java-alternatives --listOutput:

Let's say Java 21 is the default on your system and you want to change it to version 17 or another version. You can use the following command, which will prompt an interactive screen listing all installed Java versions (with the default one * marked); to change the Java version, simply select the corresponding selection number for your desired version.
$ sudo update-alternatives --config javaOutput:
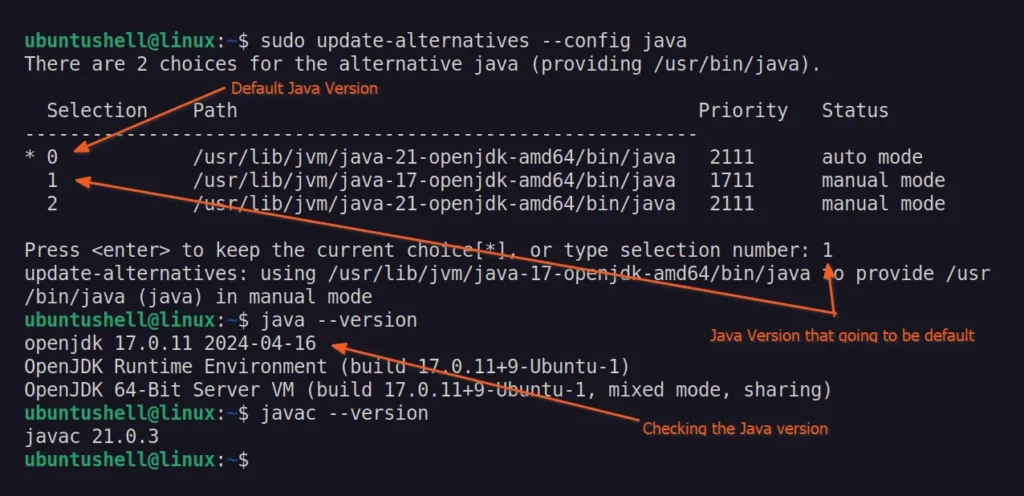
As you can see, the default Java 21 (whose selection number is 0) is marked with *, which we later changed to Java 17 (whose selection number is 1).
If you're eager to explore more different ways to changing the Java version via CLI or GUI, do check out previous articles. Also, take a look at Spicetify, which I'm using to adblock and show lyrics on Spotify.


")


")
